This blog is meant to be accompanied by a video which will release soon (like this) You can find source code for this project here.
Introduction
I deployed a full stack Node App on an EC2 instance. I wanted to share my experience and the steps I took to get it working. This includes setting up the EC2 instance, configuring a database with RDS, using Nginx as a reverse proxy, ensuring your application runs continuously with PM2, and securing your application with an SSL certificate for a subdomain using route53 and certbot.
Preparing the Code for Deployment
The first step involves getting your code ready for deployment. Check out all the changes here
Serverside Adjustments
- Previously: The Apollo Server was set up with no path for subscriptions. It used the default path
/graphqlfor both HTTP requests and WS connections. This setup worked for local development but when deployed I had routing issues. - Now: I added
subscriptions: { path: '/' }to the Apollo Server which explicitly sets the path for GraphQL subscriptions. Additionally, the server’s console is updated to display the new subscription URL.
Clientside Adjustments:
- Previously: The Apollo Client was hardcoded and configured to connect to
http://localhost:4000for HTTP requests andws://localhost:4000/graphqlfor WS connections. - Now: The Apollo Client is relative and configured to connect to
/graphql/for HTTP which automatically adapts to whatever host the server is on and for WSws://${host}/graphql/which is constructed using thewindow.locationobject.
Environment Variables:
The .env file allows you to store sensitive information outside the source code and then during runtime our Node app uses process.env variables are to access the values in the .env file.
All database configuration values have been moved to a .env file for better security and added to .gitignore to prevent them from being committed to the repository.
A new file and directory were created to use the process.env variables. This file is called
config.jsand is located in theconfigdirectory. It exports the database configuration values and is imported intomodels/index.jsand used to configure the database connection.
Setting up EC2
Go to AWS Management Console EC2 Dashboard: Pretty self-explanatory.
Create New Instance: Choose an Ubuntu Server, the latest LTS version eligible in the free tier. The instance type should be ’t2.micro’, which is also eligible for the AWS free tier.
Configure Instance: Leave most settings at their default, but ensure to configure the security group with rules to allow SSH (port 22) and HTTP/HTTPS (ports 80 and 443) from any source.
Launch Instance: Review the settings and launch. Remember to save your key pair for SSH access later on.
Fix SSH Key Permissions and SSH into the Instance:
- When you download your key from AWS, it comes with a private key file that is too permissive.
- Change to recommended permissions of 600 using
chmod 600 /path/to/your/key.pem. - Connect to the instance via SSH using the public IP address and the username ‘ubuntu’ with the command
ssh -i /path/to/your/key.pem ubuntu@<public-ip>.
Install/Updates: Run
sudo apt updateandsudo apt upgradeto ensure everything is up to date.Install NodeJS: First you will have to set up the NodeSource repository for Node.js on your Ubuntu system.
curl -fsSL https://deb.nodesource.com/gpgkey/nodesource.gpg.key | sudo gpg --dearmor -o /usr/share/keyrings/nodesource-archive-keyring.gpg
echo "deb [signed-by=/usr/share/keyrings/nodesource-archive-keyring.gpg] https://deb.nodesource.com/node_14.x $(lsb_release -cs) main" | sudo tee /etc/apt/sources.list.d/nodesource.list
Then, install Node with sudo apt install nodejs. Verify the installation with node -v and npm -v.
Clone the Private Repo:
- Make your repo private on GitHub.
- On the EC2 instance, navigate to the
.sshdirectory usingcd .ssh. - Create an SSH key associated with your server using
ssh-keygen -t rsa -b 4096 -C “your_email_address@example.com”. - View the public key with
vim id_rsa.pub, copy it, and then exit Vim with:q. - Add this public key to your GitHub account as a deploy key.
- Clone the private repository using
git clone git@github.com:<username>/<privaterepo>.git <target-directory>.
Note: Replace
<username>/<privaterepo>.gitwith your GitHub username and private repository name, and<target-directory>with the directory you want to clone the repo into.
Setting up RDS
Create the RDS instance: Go to AWS console and create a new database MySQL instance. Create DB name, username and password. Ensure that the instance is publicly accessible (don’t worry, you still need username and password to access). As for the size, I used a db.t2.micro instance for the database which falls under the free tier.
Configure RDS instance: Once the RDS instance creation is completed and it is running, configure the security group’s inbound rules to allow MySQL traffic (port 3306) and make source to be anywhere.
Database Connection: Before connecting to the MySQL DB, use
sudo apt install mysql-clientto usemysqlcommand. Once downloaded, connect your application to the database using the provided endpoint and your newly created DB credentials. I usedmysql -h <endpoint> -u <username> -pto connect to the database. You will be prompted for the password.Test the connection: I used
show databases;to see if the database was connected. It should return the default MySQL databasesinformation_schema, mysql, performance_schema, and syssince we have not seeded the database yet.
Connecting EC2 with RDS
- Environment Configuration: Inside the directory where you have cloned the code, create the .env file using Nano
nano .envOnce inside the Nano text editor, add the following environment variables:
NODE_ENV=production
DB_USERNAME=your_database_username
DB_PASSWORD=your_database_password
DB_DATABASE=your_database_name
DB_HOST=your_database_endpoint
DB_DIALECT=mysql
JWT_SECRET=your_jwt_secret
Use Ctrl + O to save and Ctrl + X to exit.
Sequelize: I used Sequelize to create, migrate, and seed. I first installed Sequelize globally
sudo npm install -g sequelize-cliand then ransequelize db:createto create the database thensequelize db:migrateandsequelize db:seed:allto migrate and seed the database.Check Sequelize: Connect to mysql again using
mysql -h <endpoint> -u <username> -p. Then, I usedshow databases;to see if sequelize created the database and then useduse <db>;andSELECT * FROM users;to check if the fake users were seeded and tables were created.
Application Deployment on EC2
Dependency Installation: Run
npm installto install dependencies for the server. Then,cd clientand runnpm installto install dependencies for the client.Building the Client: I used
npm run buildin the client directory to build our front end files and serve them as static files. Certainly! Let’s revise sections 4, 5 of “Application Deployment on EC2” and the “Final Steps and Testing” section of your blog post for clarity and effectiveness.Process Management:
- Running
node server.jsstarts the server, but it stops if the SSH session is closed. To solve this, use PM2 (a Node.js process manager). - Install PM2 globally using
sudo npm install pm2 -g. - Start the server with PM2 using
pm2 start server.js --name "Server". This keeps the server running continuously, even after closing SSH.
- Running
Nginx Configuration:
- Install Nginx using
sudo apt install nginx, then restart it withsudo systemctl restart nginx. This should show an Nginx welcome page when accessing your EC2’s public IP.

- Prepare to serve the client files:
- Create a new directory in
/var/www/for the frontend:sudo mkdir /var/www/<frontend>(replace<frontend>with your directory name). - Change directory ownership:
sudo chown -R $USER:$USER /var/www/<frontend>. - Copy the built client files:
cp -r client/build/* /var/www/<frontend>.
- Create a new directory in
- Configure Nginx:
Open Nginx’s config file:
sudo nano /etc/nginx/sites-available/default.Add server blocks for routing:
- Set root to
/var/www/<frontend>and includeindex.html. - Route
/to client files and/graphql/to the server.
- Set root to
Example:
  root /var/www/<frontend>;

  # Add index.php to the list if you are using PHP
  index index.html index.htm index.nginx-debian.html;

  server_name _;

  location / {
           # First attempt to serve request as file, then
           # as directory, then fall back to displaying a 404.
           try_files $uri /index.html;
  }

  location /graphql/ {
           proxy_pass http://localhost:4000/;
           proxy_http_version 1.1;
           proxy_set_header Upgrade $http_upgrade;
           proxy_set_header Connection "upgrade";
  }
Restart Nginx with
sudo systemctl restart nginxto apply changes.
- Install Nginx using
Testing
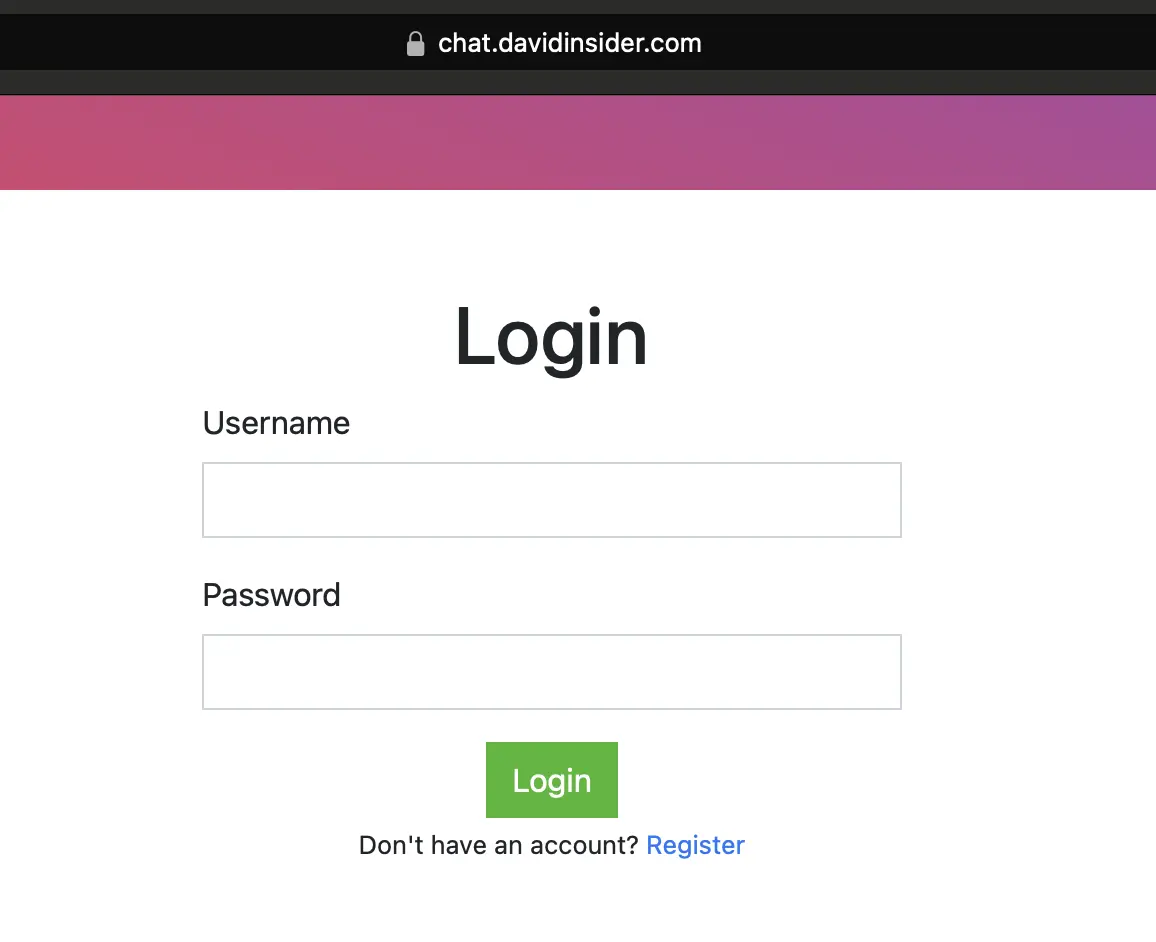
- Accessing the Application:
Visit your EC2 instance’s public IP or domain name in a browser to see the React app.
Test the backend functionality:
- Click the log in button. An error response indicates the backend is active and responding.

- Click the log in button. An error response indicates the backend is active and responding.
In the server block,
proxy_set_header Upgrade $http_upgrade;andproxy_set_header Connection "upgrade";enable protocol upgrades from HTTP to WS.You can see the protocol switch in your browser’s network tab.

Also test the real-time features like sending messages. Look at the payload being sent to the server in the browser’s network tab as well.

Subdomain Setup & Security
1. Assigning a Static IP Address to Your EC2 Instance:
First your EC2 instance needs an unchanging IP address. This is important for reliable DNS routing.
- Navigate to the AWS Management Console.
- Search for “Elastic IPs”.
- Allocate a new Elastic IP address and associate it with your EC2 instance.
- This static IP makes sure your subdomain always points to the correct server.
2. Creating and Configuring a Subdomain in Route53:
Next, set up a subdomain that directs to your Elastic IP.
- In the AWS Management Console, access Route53.
- Create a hosted zone corresponding to your main domain.
- Add a new record set for your subdomain.
- Choose A record (IPv4 address) and link it to your Elastic IP.
3. Securing Your Subdomain with SSL:
Finally, secure your subdomain with an SSL certificate.
- On your EC2 instance, install the Nginx Certbot plugin with
sudo apt-get install certbot python3-certbot-nginx. - Run
sudo certbot --nginxand follow the prompts. - Provide your email, agree to the terms, and select your subdomain.
- Certbot will configure Nginx to use SSL and redirect HTTP traffic to HTTPS automatically.
- Confirm the setup by visiting your subdomain in a browser (a lock icon next to the URL indicates a secure connection).
Conclusion
This was a fun little blog to document a project I was working on. Make sure to delete your EC2 instance and RDS instance when you are done to avoid charges.