
Upgrading a Windows Server VM In Place on Azure
I upgraded an existing Windows Server VM in Azure without rebuilding it. An in-place upgrade swaps out the OS but keeps the VM’s roles, apps, config, and data.
I took Windows Server 2012 R2 to Windows Server 2019. Supported paths, Azure requirements, and upgrade media images change over time. Check current Microsoft docs before doing this on another server.
My upgrade plan
I broke the work into four phases:
- Check compatibility, licensing, disk space, and application readiness.
- Stop the VM and create a recoverable backup or snapshot of every important disk.
- Create and attach Microsoft’s Azure upgrade-media disk.
- Run Windows Setup, monitor the reboots, and validate the server afterward.
An in-place upgrade is a big OS change. On production I’d test on a copy first, book a maintenance window, and write down when I’d call a rollback.
1. Pre-upgrade checks
Before changing the VM, I checked:
- The source and target Windows Server versions had a supported direct upgrade path.
- The target edition and installation type matched the source: Standard or Datacenter, and Server Core or Desktop Experience.
- The OS disk had at least 32 GB of free space, plus enough room for applications and temporary setup files.
- The VM used managed disks and had a current Azure VM Agent.
- Installed roles, applications, drivers, and security products supported the target version.
- Azure Backup was healthy and I knew how I would restore the VM.
- I had an out-of-band way to observe or troubleshoot the VM through Azure.
I didn’t turn off antivirus or Windows Firewall by default. If a vendor needs a temporary change, document it, keep the exposure small, and turn protection back on right after.
2. Checking the license channel
From elevated PowerShell I pulled up the detailed licensing info:
cscript C:\Windows\System32\slmgr.vbs /dlv
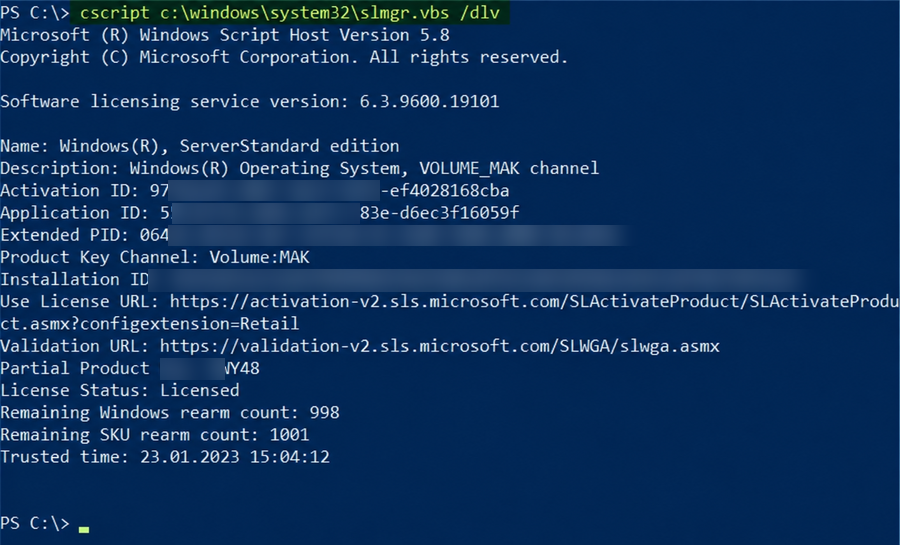
Checking the Windows Server edition, license channel, and activation state
My VM was on a volume license channel. If yours shows an unexpected retail channel, check the image source and your licensing first. Only use a Microsoft-published KMS client setup key for the exact edition.
For Azure volume activation I set Azure’s KMS endpoint and retried activation:
cscript C:\Windows\System32\slmgr.vbs /skms kms.core.windows.net:1688
cscript C:\Windows\System32\slmgr.vbs /ato
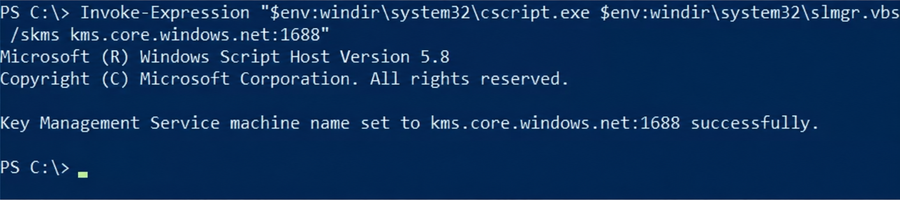
Azure’s KMS endpoint configured successfully
This only works if the VM can reach Azure’s activation service and has valid licensing. It’s not a way around licensing.
3. Creating a recovery point
Before touching the OS, I shut the server down cleanly and stopped the VM. Then I snapshotted its managed OS disk.
$resourceGroupName = "CHANGE_ME"
$location = "eastus"
$vmName = "CHANGE_ME"

$vm = Get-AzVM `
    -ResourceGroupName $resourceGroupName `
    -Name $vmName

$snapshotConfig = New-AzSnapshotConfig `
    -SourceUri $vm.StorageProfile.OsDisk.ManagedDisk.Id `
    -Location $location `
    -CreateOption Copy

$snapshotName = "$($vm.StorageProfile.OsDisk.Name)-pre-upgrade-$(Get-Date -Format yyyy-MM-dd)"

New-AzSnapshot `
    -Snapshot $snapshotConfig `
    -SnapshotName $snapshotName `
    -ResourceGroupName $resourceGroupName
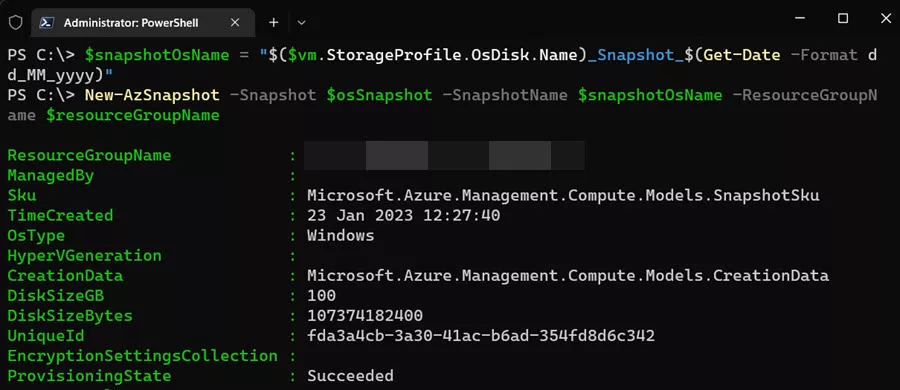
The pre-upgrade OS disk snapshot completed successfully
I confirmed the snapshot existed before moving on. If there are data disks, protect those too. A snapshot helps, but for a business workload I’d want an application-consistent Azure Backup recovery point. I’d test the restore ahead of time too.
4. Creating the upgrade media disk
I didn’t download an ISO to the VM. Instead I used a managed disk built from Microsoft’s WindowsServerUpgrade marketplace offer.
For Windows Server 2019, the key values were:
$upgradeDiskName = "WindowsServer2019UpgradeDisk"
$publisher = "MicrosoftWindowsServer"
$offer = "WindowsServerUpgrade"
$sku = "server2019Upgrade"
$managedDiskSku = "Standard_LRS"
I used Az PowerShell to find the current matching image version. Then I built a disk config from it and created the managed disk in the VM’s region and resource group.
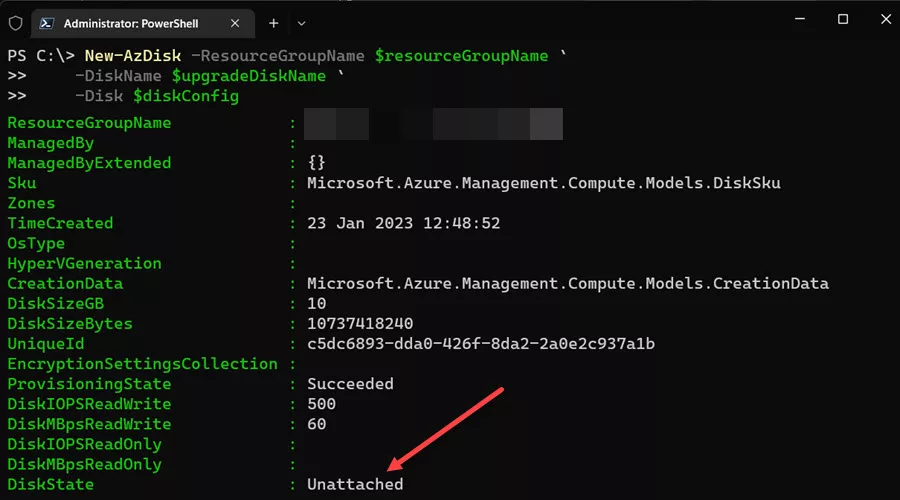
The Windows Server upgrade-media managed disk was created and remained unattached
The SKU has to match the target version. Query Azure for what’s available now. Don’t copy an old hard-coded image version.
5. Attaching the upgrade disk
I grabbed the new disk, attached it as a data disk, and updated the VM.
$upgradeDisk = Get-AzDisk `
    -DiskName $upgradeDiskName `
    -ResourceGroupName $resourceGroupName

$vm = Get-AzVM `
    -Name $vmName `
    -ResourceGroupName $resourceGroupName

$vm = Add-AzVMDataDisk `
    -VM $vm `
    -Name $upgradeDiskName `
    -CreateOption Attach `
    -ManagedDiskId $upgradeDisk.Id `
    -Lun 0

Update-AzVM -VM $vm -ResourceGroupName $resourceGroupName
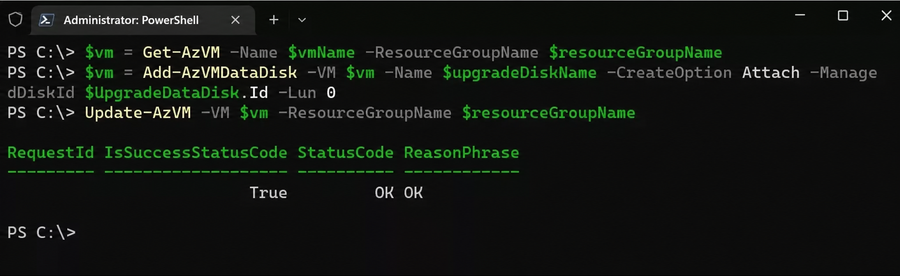
Azure successfully attached the upgrade disk to the VM
I checked the portal to make sure the disk showed under the VM before starting it back up.
6. Bringing the disk online
I connected over a private admin path. Azure Bastion, VPN, or ExpressRoute is safer than opening RDP to the internet.
In Windows I opened Disk Management, found the new disk, and brought it online.
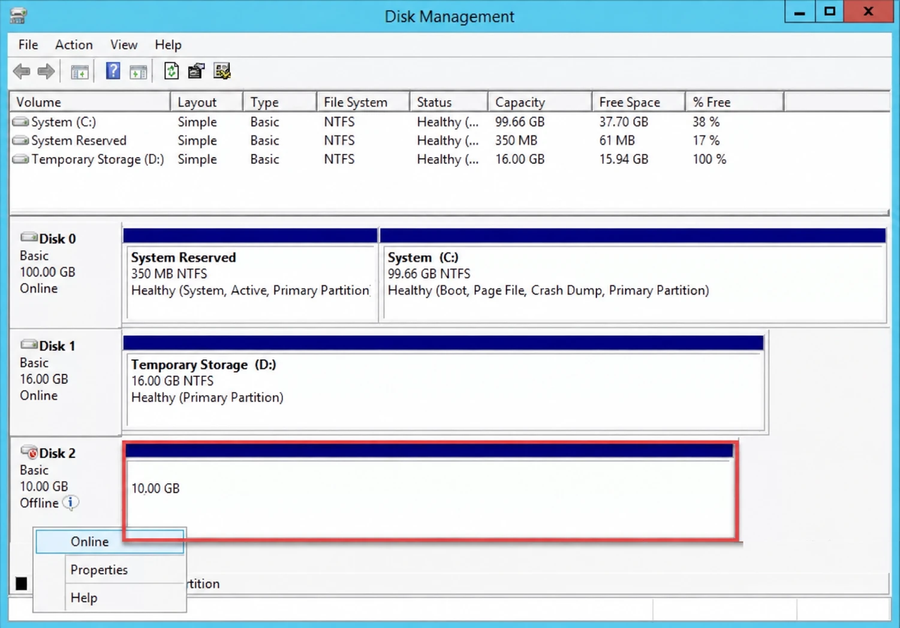
Bringing the attached Windows Server upgrade disk online
Then I found its drive letter by the upgrade volume label:
Get-Volume | Where-Object FileSystemLabel -eq "upgrade"
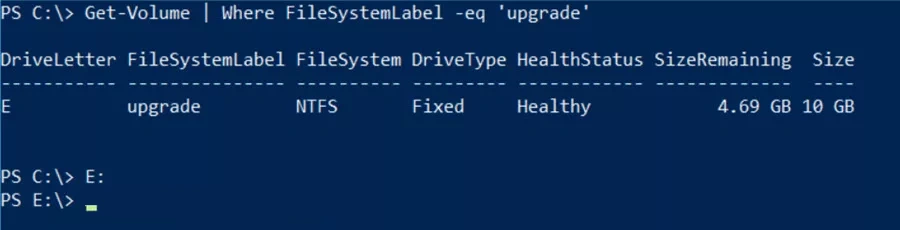
The upgrade media is mounted as drive E on my VM
7. Running Windows Setup
I moved into the folder for the target version and started Setup in upgrade mode:
E:
Set-Location ".\Windows Server 2019"
.\setup.exe /auto upgrade /dynamicupdate disable

Launching Windows Server Setup from the attached upgrade media
I turned off Dynamic Update because I was using the files on Microsoft’s upgrade disk. For other versions, follow Azure’s current guidance for that path.
When Setup listed the images, I picked the edition and install type that matched the server. Mine was Windows Server 2019 Standard with Desktop Experience.
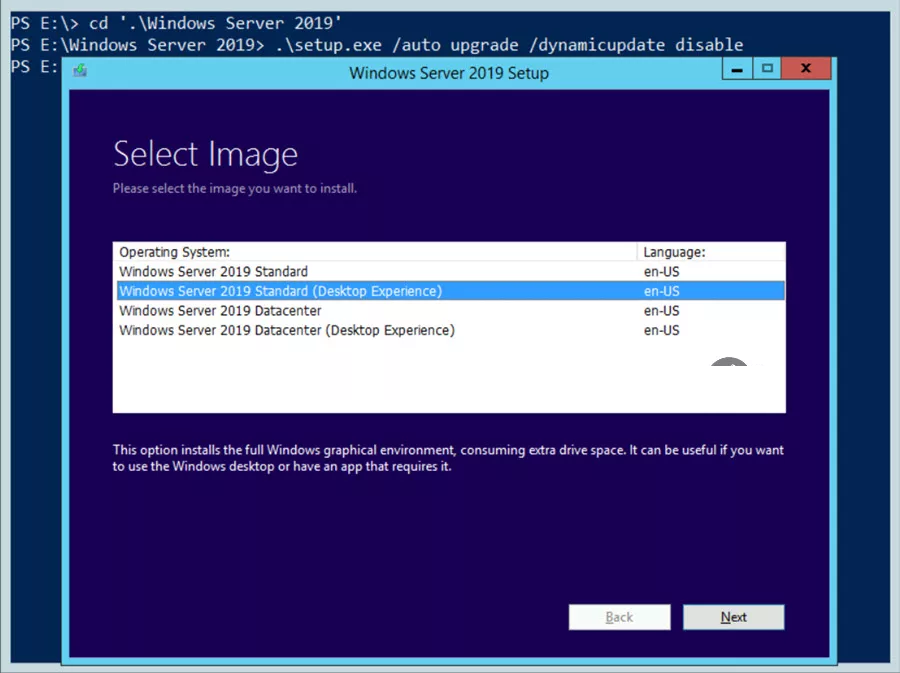
Selecting the matching Windows Server edition and Desktop Experience installation
Picking the wrong edition, or switching between Server Core and Desktop Experience, can block the upgrade. It can also wipe out apps and roles.
8. Watching the upgrade
RDP dropped when Windows restarted. That’s expected. I used Boot diagnostics in Azure to watch the console instead of trying to reconnect over and over.

Windows continuing the upgrade while the VM is monitored through Azure
I let it finish and didn’t force-stop the VM during reboots.
9. Checking the upgraded server
Once I could reach it again, I checked a lot more than the Windows version:
- Windows edition, version, activation, and installed updates
- Azure VM Agent and extension health
- IP configuration, DNS, routes, and remote administration
- Windows Event Viewer and Device Manager
- Installed roles, services, scheduled tasks, and applications
- Data-disk access and file permissions
- Application-specific tests from a client system
- Backup status and monitoring alerts
If a critical check failed, I’d stop changing things and roll back while the recovery point was still around.
10. Cleaning up
Once the server passed my checks and stayed stable for a while, I detached and deleted the upgrade disk. I kept the recovery point per my retention plan instead of deleting it right away.
I also put back any security settings I changed for the window. Then I confirmed monitoring, backup, and endpoint protection were healthy.
Result
The VM finished its in-place upgrade without a rebuild. Roles, apps, config, and data all stayed put. The OS moved to the supported target version.
Clicking through Windows Setup was the easy part. What mattered was having a tested recovery path and the right upgrade media. I had to match the edition and install type. I watched the VM while RDP was down. And I checked every service afterward.