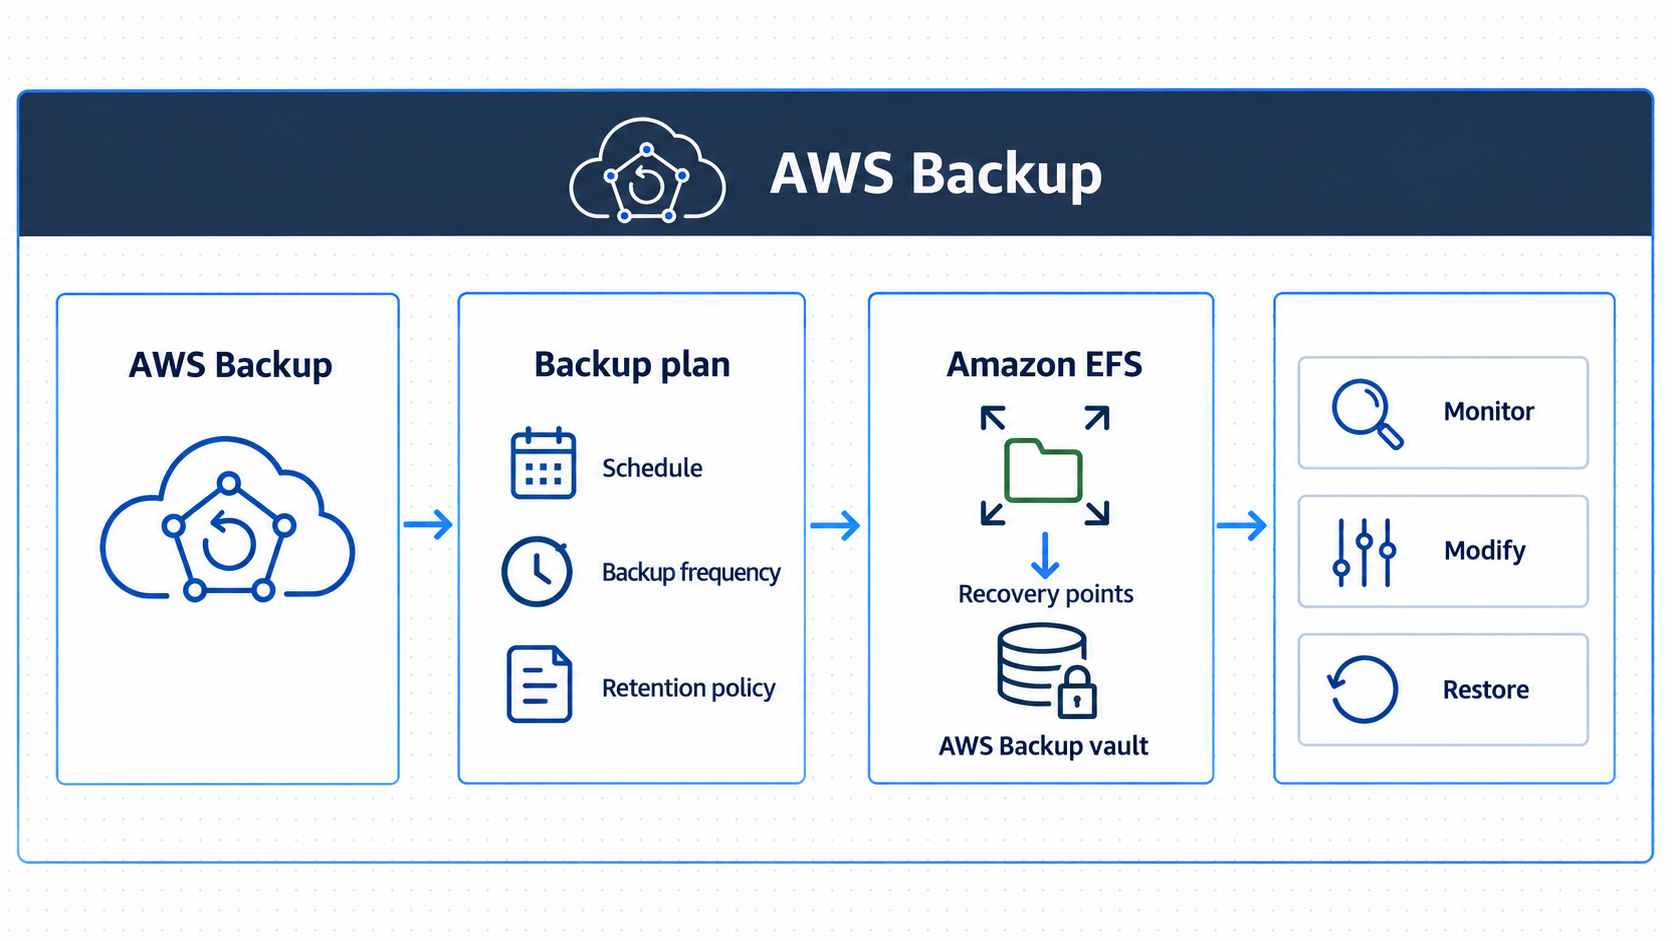
I used AWS Backup to protect an Amazon Elastic File System (EFS). Then I changed the live data and restored one file from a recovery point. I wanted to prove I could get back a single file without restoring the whole file system.
AWS Backup can centrally protect services such as Amazon EFS.
These screenshots are from an older AWS console. The steps still work, but labels, quotas, restore behavior, and pricing can change. Check the current AWS docs before using these settings in production.
Setting up test data on EFS
I created an EFS file system named aws-backup-poc with mount targets in three subnets of the default VPC.
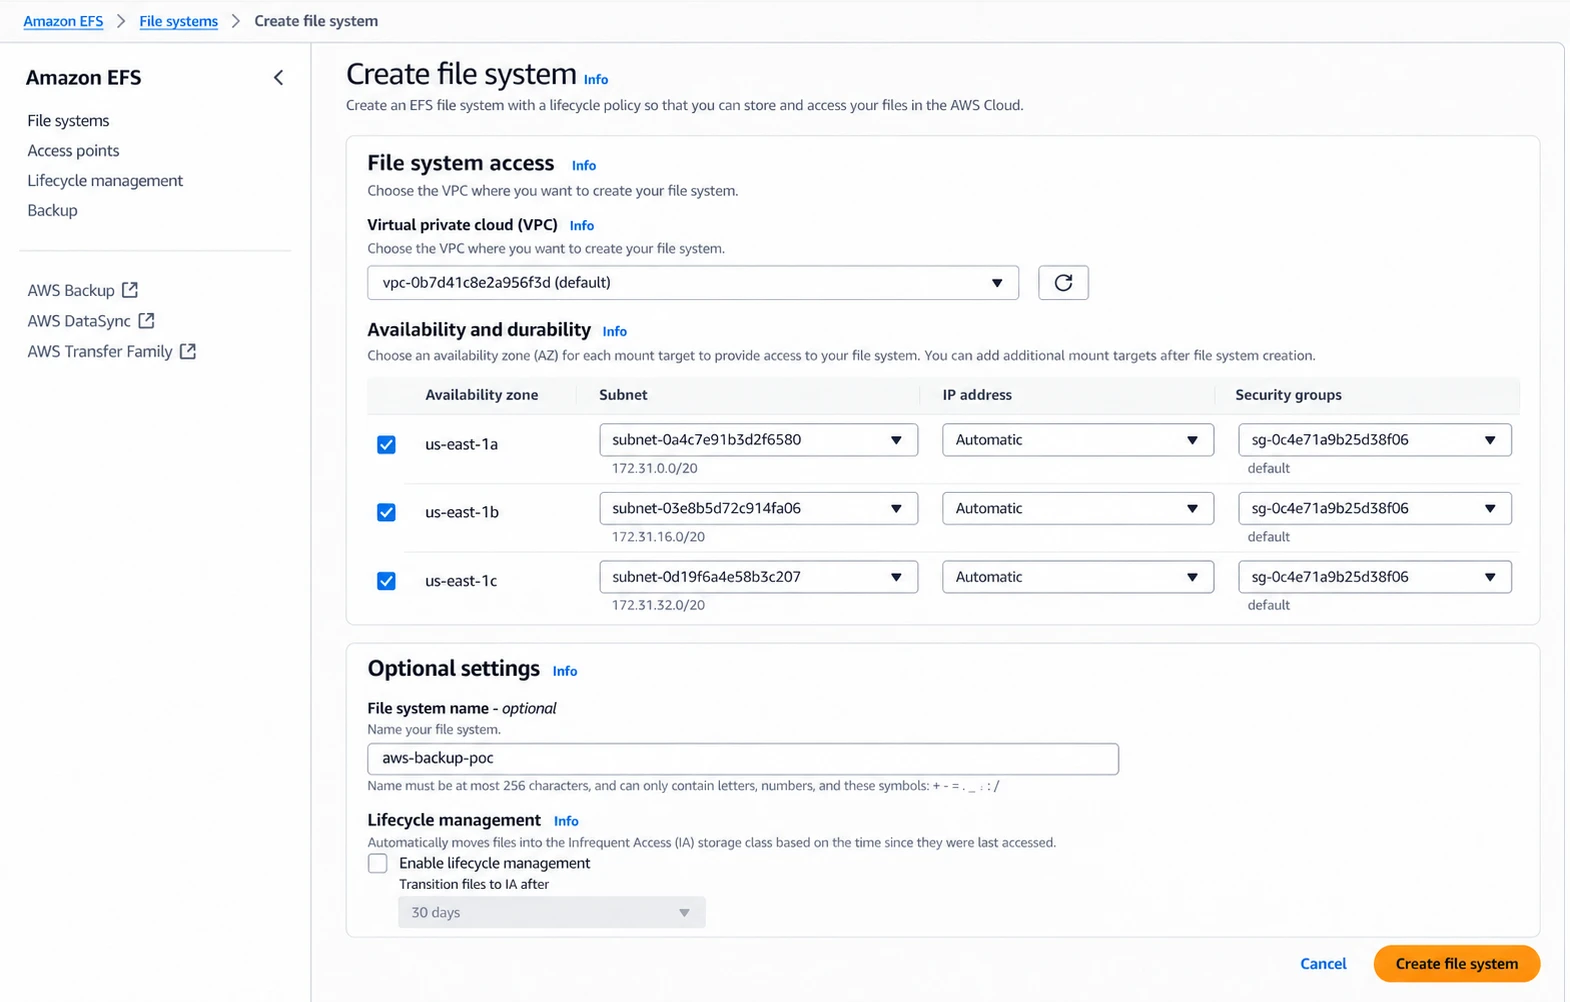
Creating the EFS file system.
Once EFS was available, I opened its EC2 mount instructions. I mounted it on an EC2 instance that could reach the mount target on NFS port 2049.

Opening the EC2 mount instructions for the file system.
In the mounted folder I created test.txt and test2.txt with known content. That gave me a clear before and after for the restore.
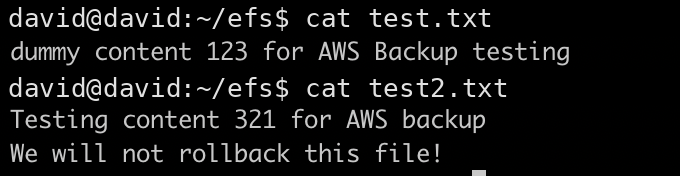
The original contents of my two test files.
Taking an on-demand backup
I used a one-time backup instead of a scheduled plan. In AWS Backup I opened Protected resources and clicked Create on-demand backup.
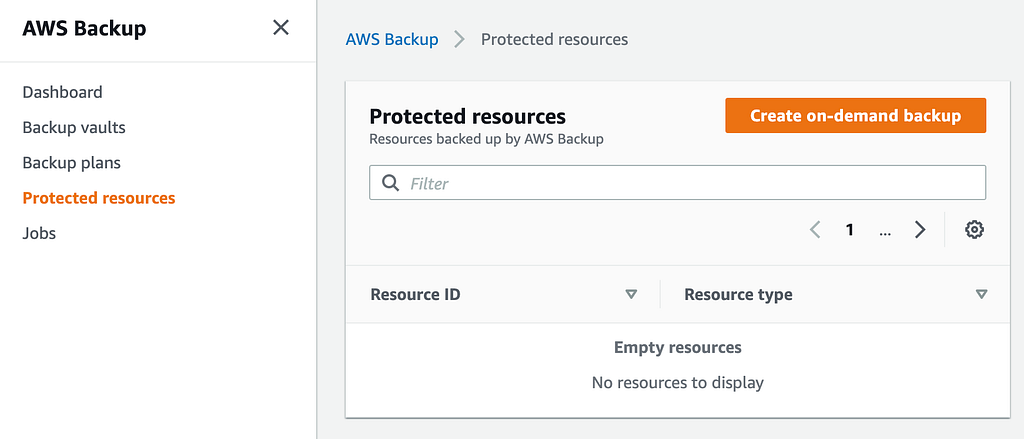
Starting an on-demand backup from AWS Backup.
I selected EFS as the resource type.
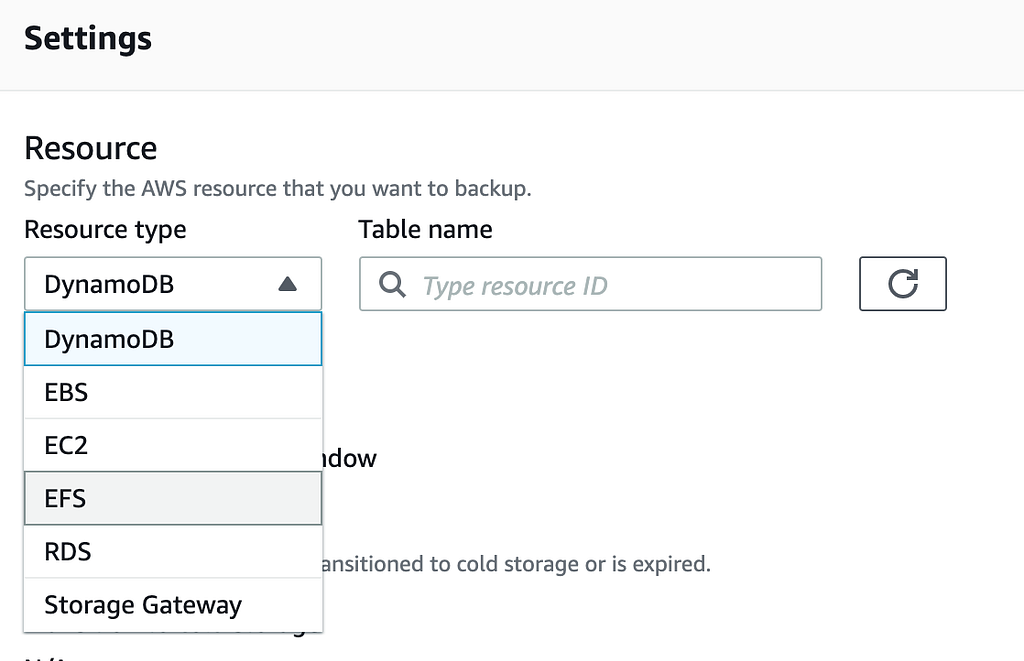
Selecting Amazon EFS as the resource type.
Then I chose the file system containing my test data.
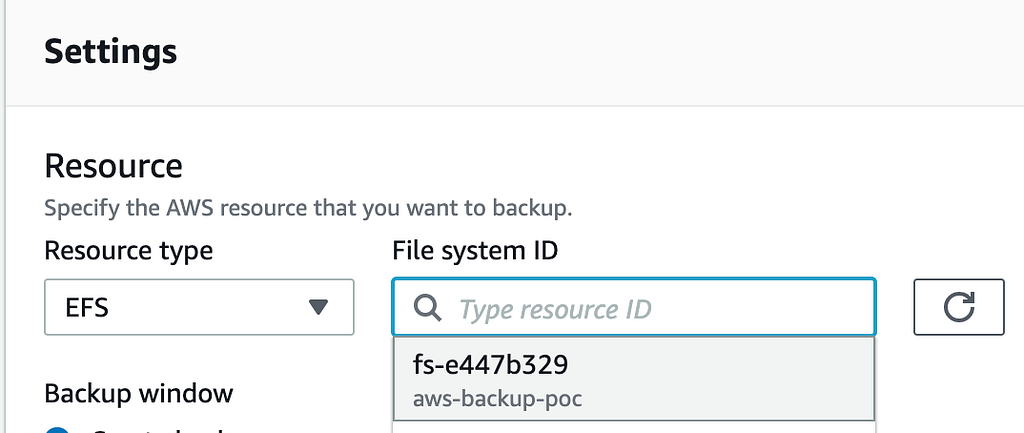
Selecting the EFS file system to protect.
I set it to run right away. I kept it in the default backup vault and left the lifecycle settings alone.
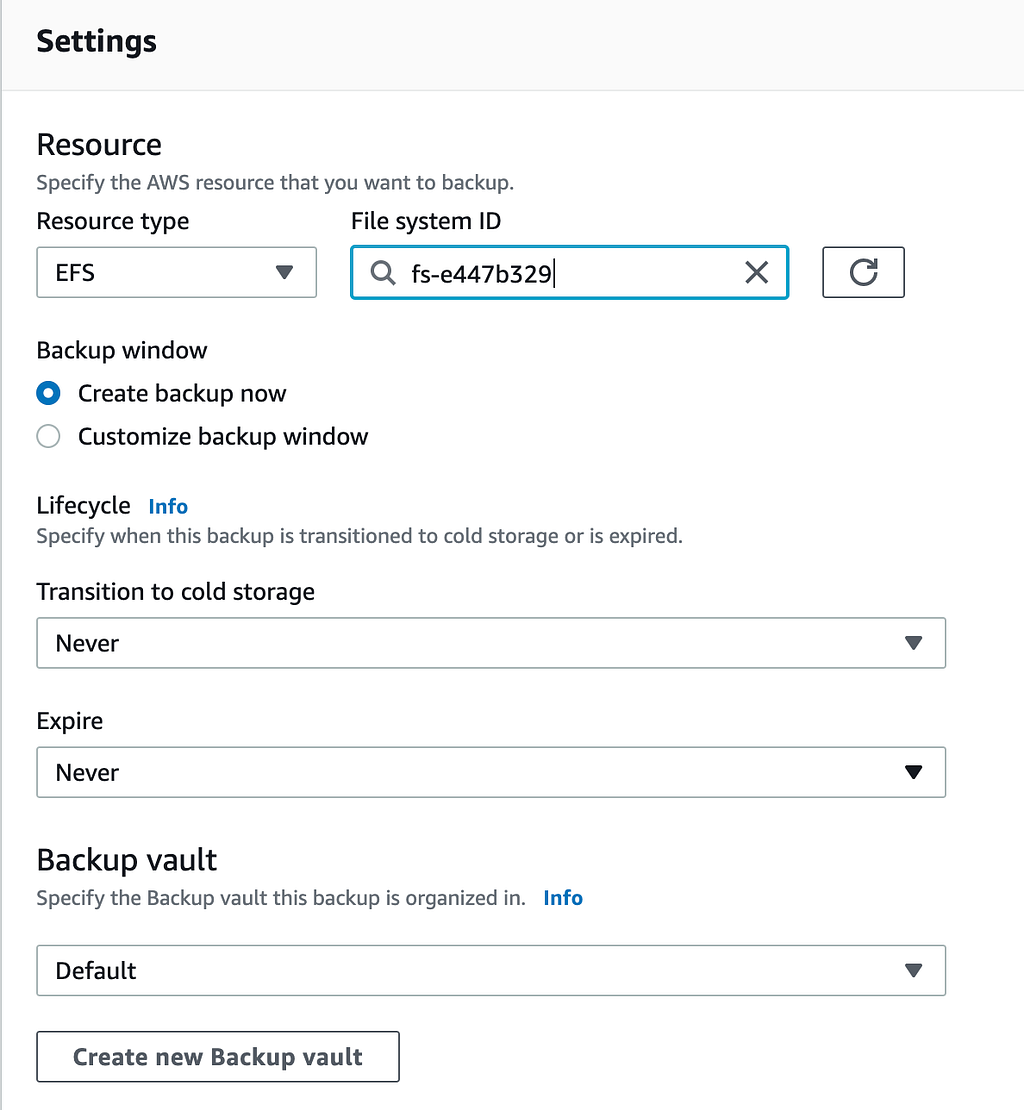
Configuring the backup window, lifecycle, and backup vault.
AWS Backup needs an IAM role that can back up the resource. I used the default role and submitted the job.
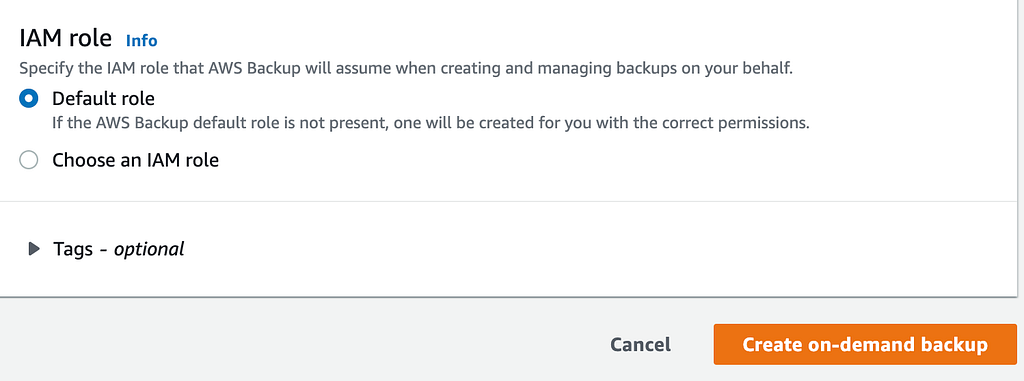
Using the default AWS Backup role and creating the backup.
I waited for the job to show Completed before touching anything on EFS.
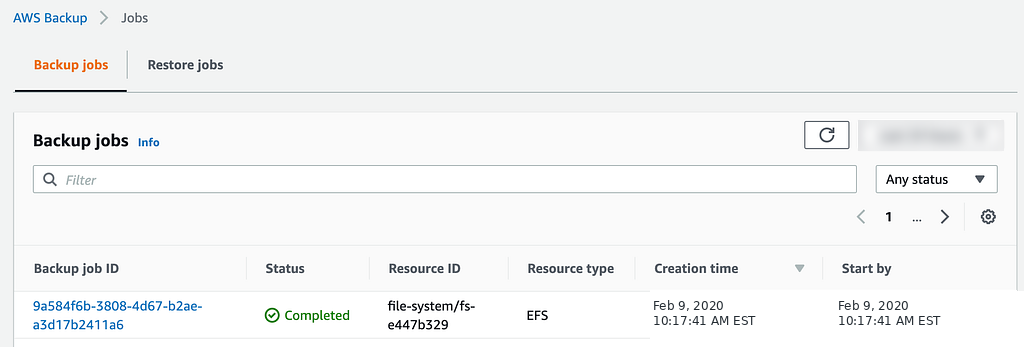
The completed EFS backup job.
Changing the live files
Once the recovery point existed, I added lines to both files. Now the backup had the old versions and EFS had the new ones.
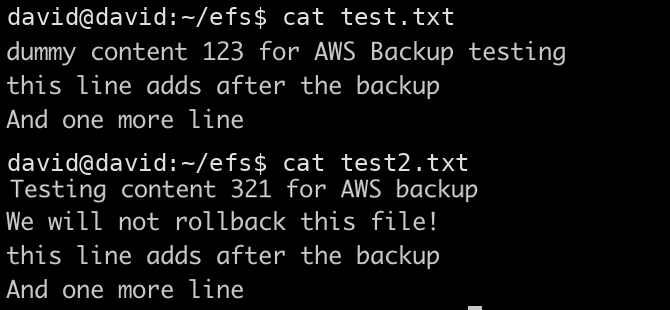
The live files after I added new lines.
I only planned to restore test.txt. I left test2.txt alone to show this was a single item restore and not a full rollback.
Selecting the recovery point
I went back to Protected resources and opened the EFS resource.
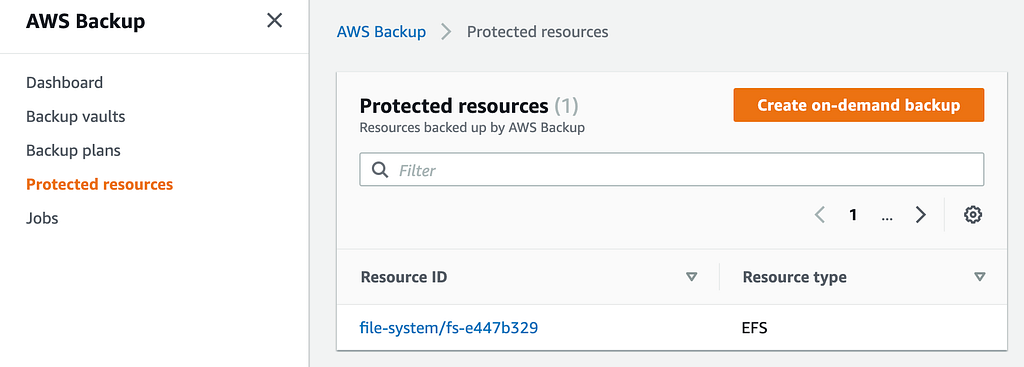
The EFS file system now appears as a protected resource.
The completed recovery point was listed there. I selected it and clicked Restore.
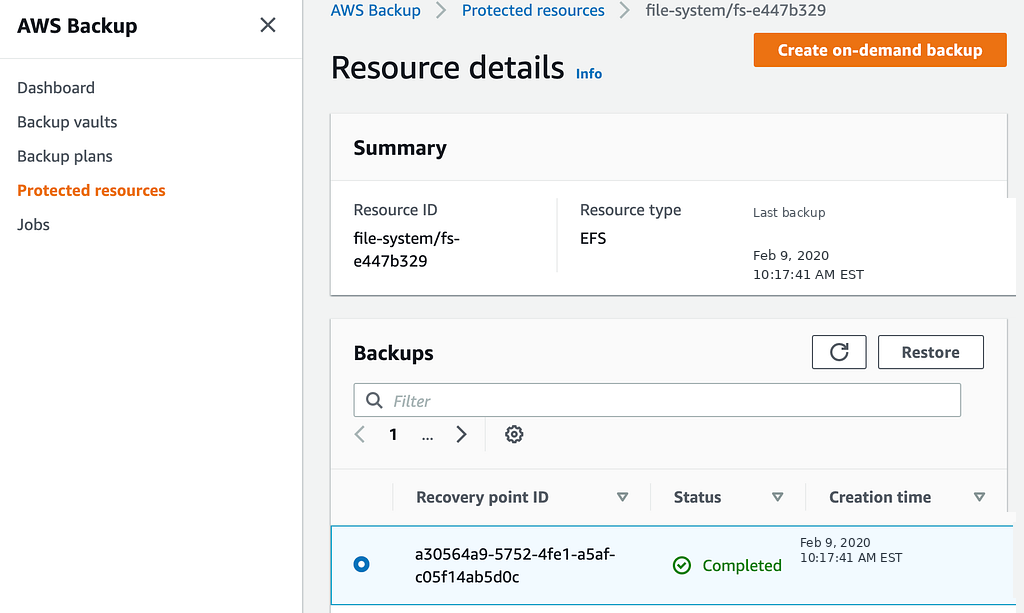
Selecting the completed EFS recovery point.
Setting up the item-level restore
I picked Item-level restore and entered /test.txt. I chose to restore it into a folder on the same file system.
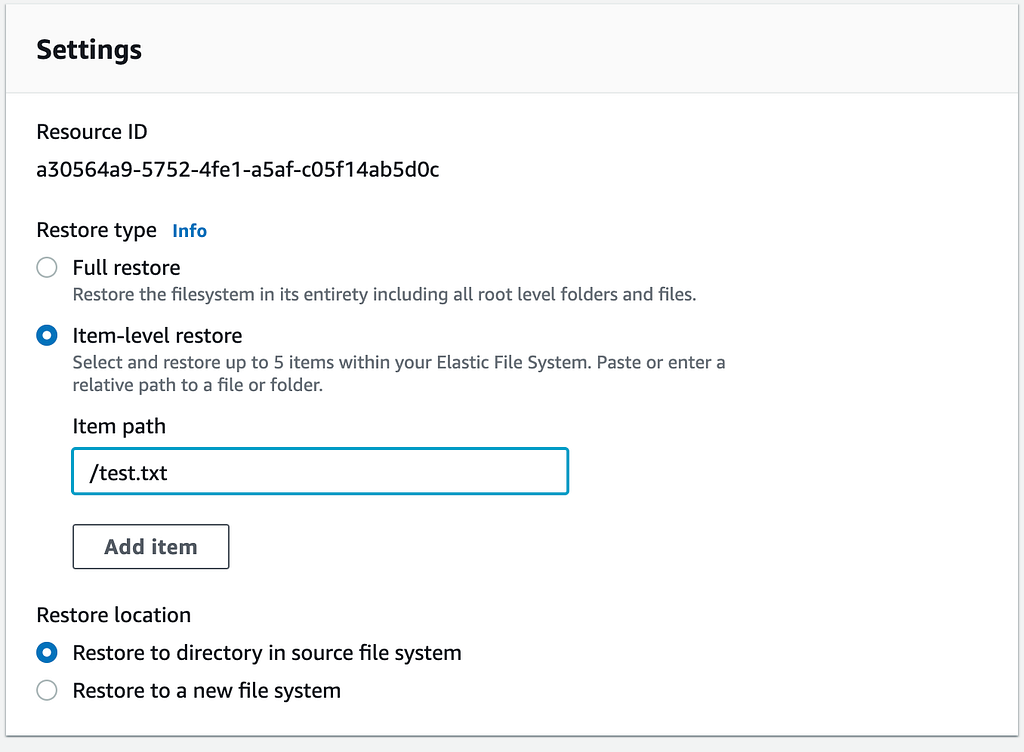
Restoring only /test.txt to the source EFS file system.
The path is relative to the EFS root, not your local mount point. If EFS is mounted at /mnt/efs, then /mnt/efs/test.txt goes in as /test.txt. It has to be exact and it is case-sensitive.
I checked the restore role and submitted it.
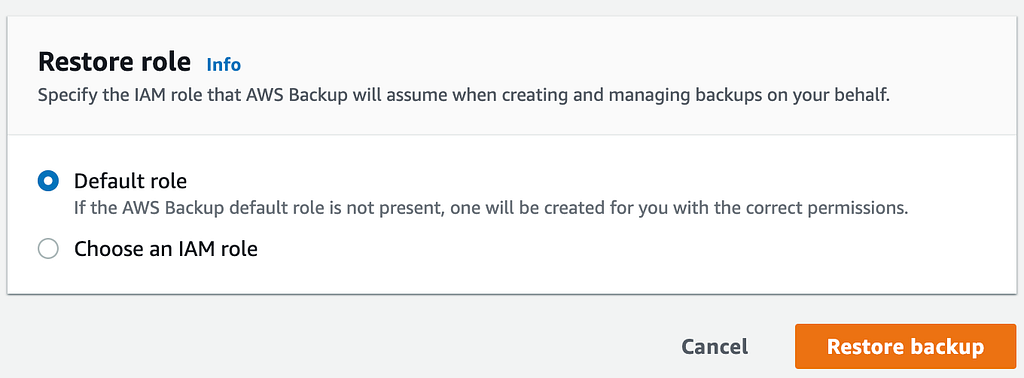
Confirming the restore role and starting the restore.
In production I’d use a least-privilege IAM role instead of the broad default one.
Watching the restore
AWS Backup created a restore job and marked it Pending.
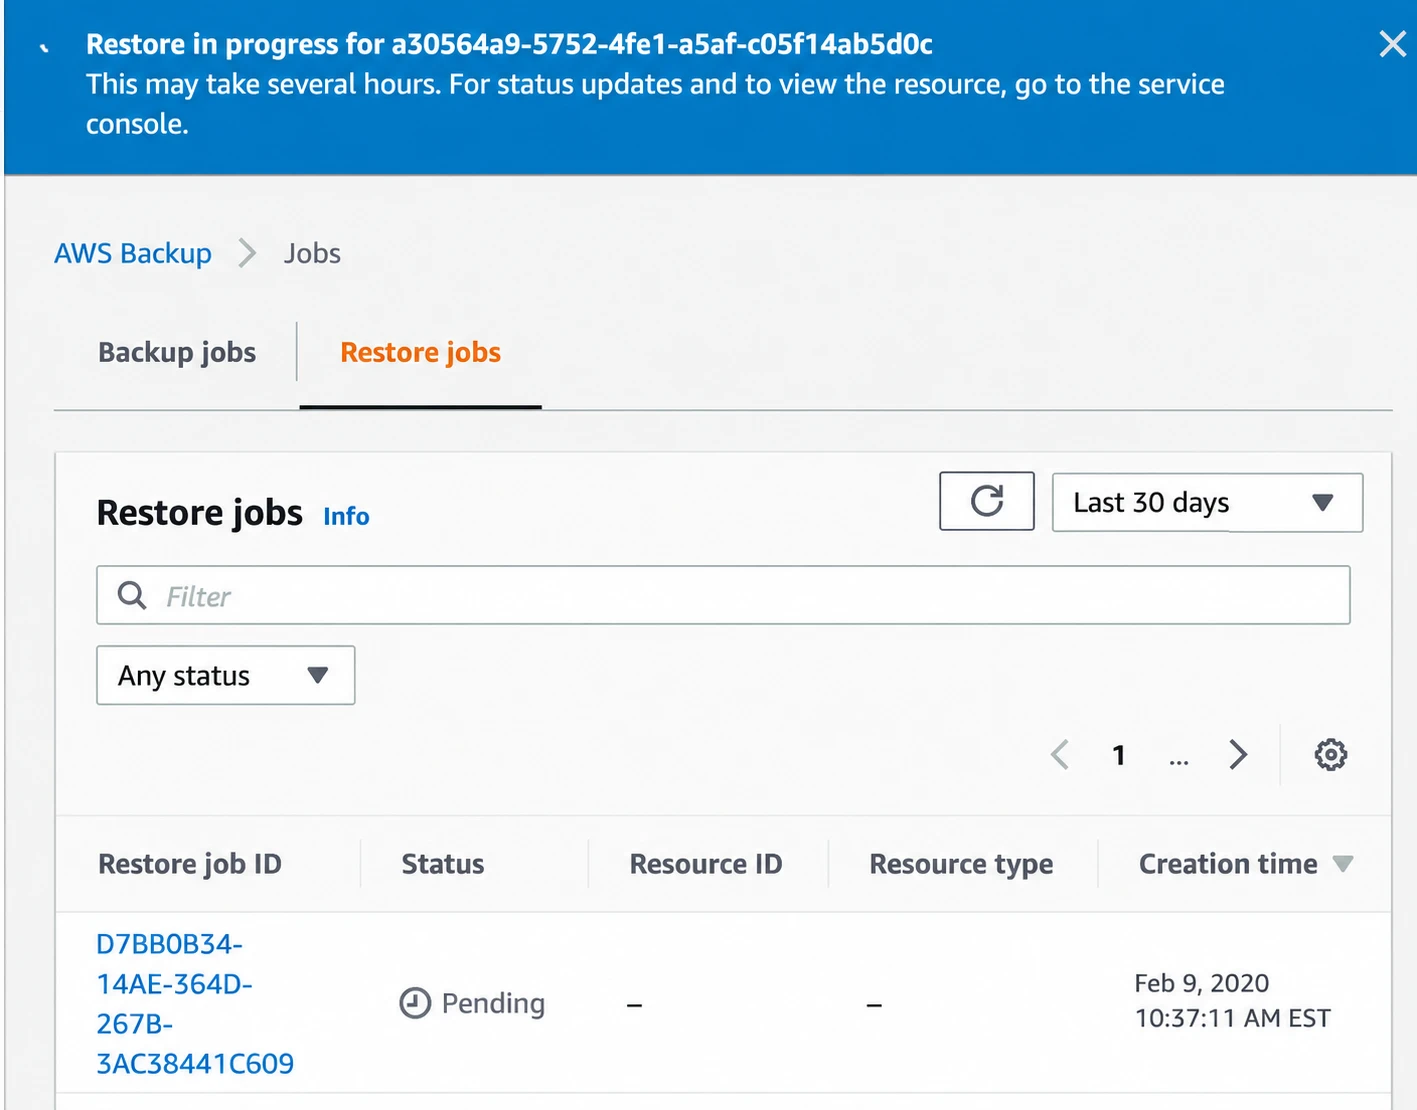
The new item-level restore job is pending.
The console warned it could take several hours.

AWS Backup’s restore-in-progress notice.
For this tiny 161-byte file it finished in about ten minutes.
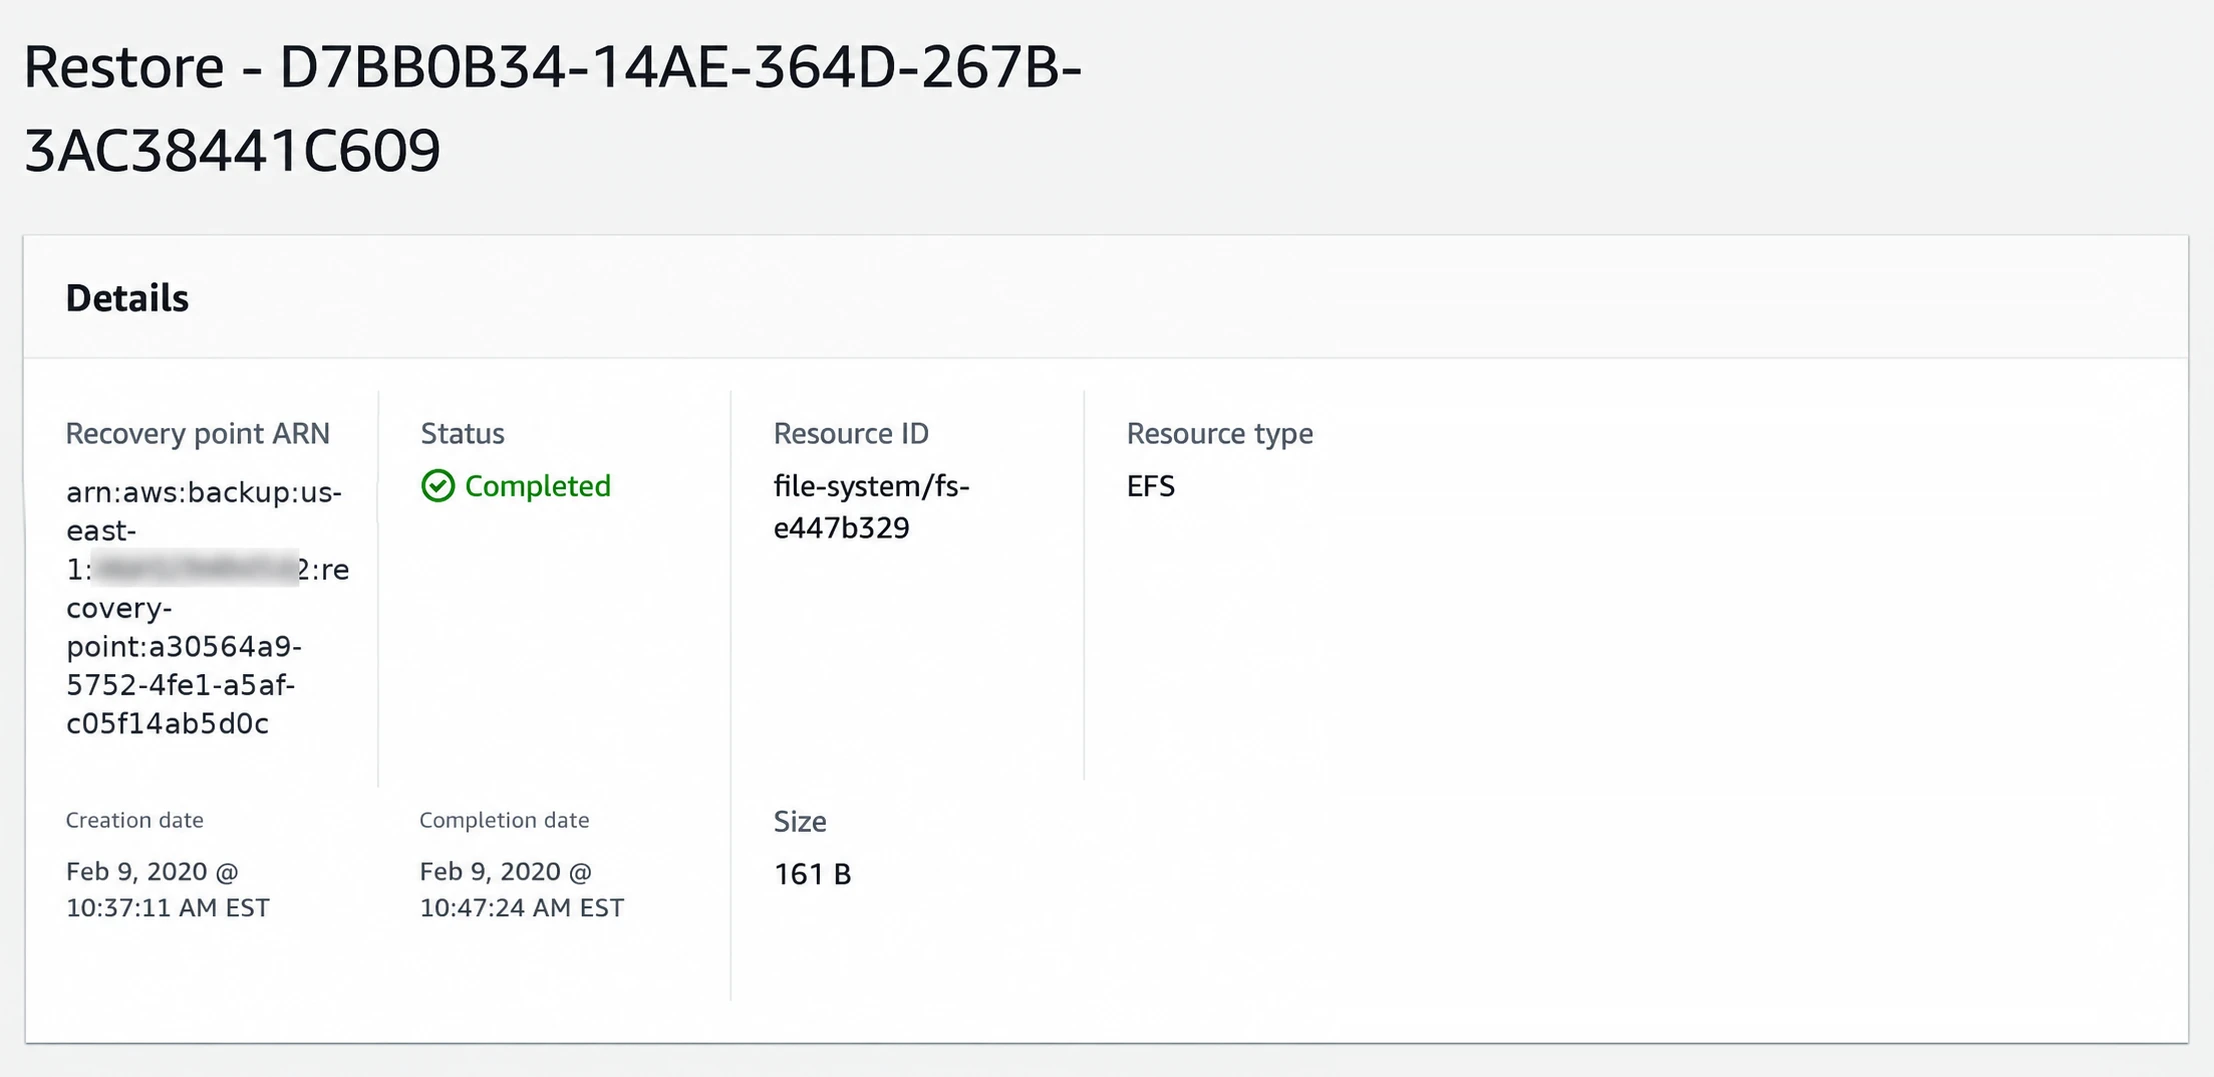
The restore job completed successfully.
That’s just what I saw. It isn’t an AWS performance guarantee.
Checking the recovered file
AWS Backup didn’t overwrite the live file. It created a timestamped restore folder on the same file system. I listed that folder and read the recovered test.txt.
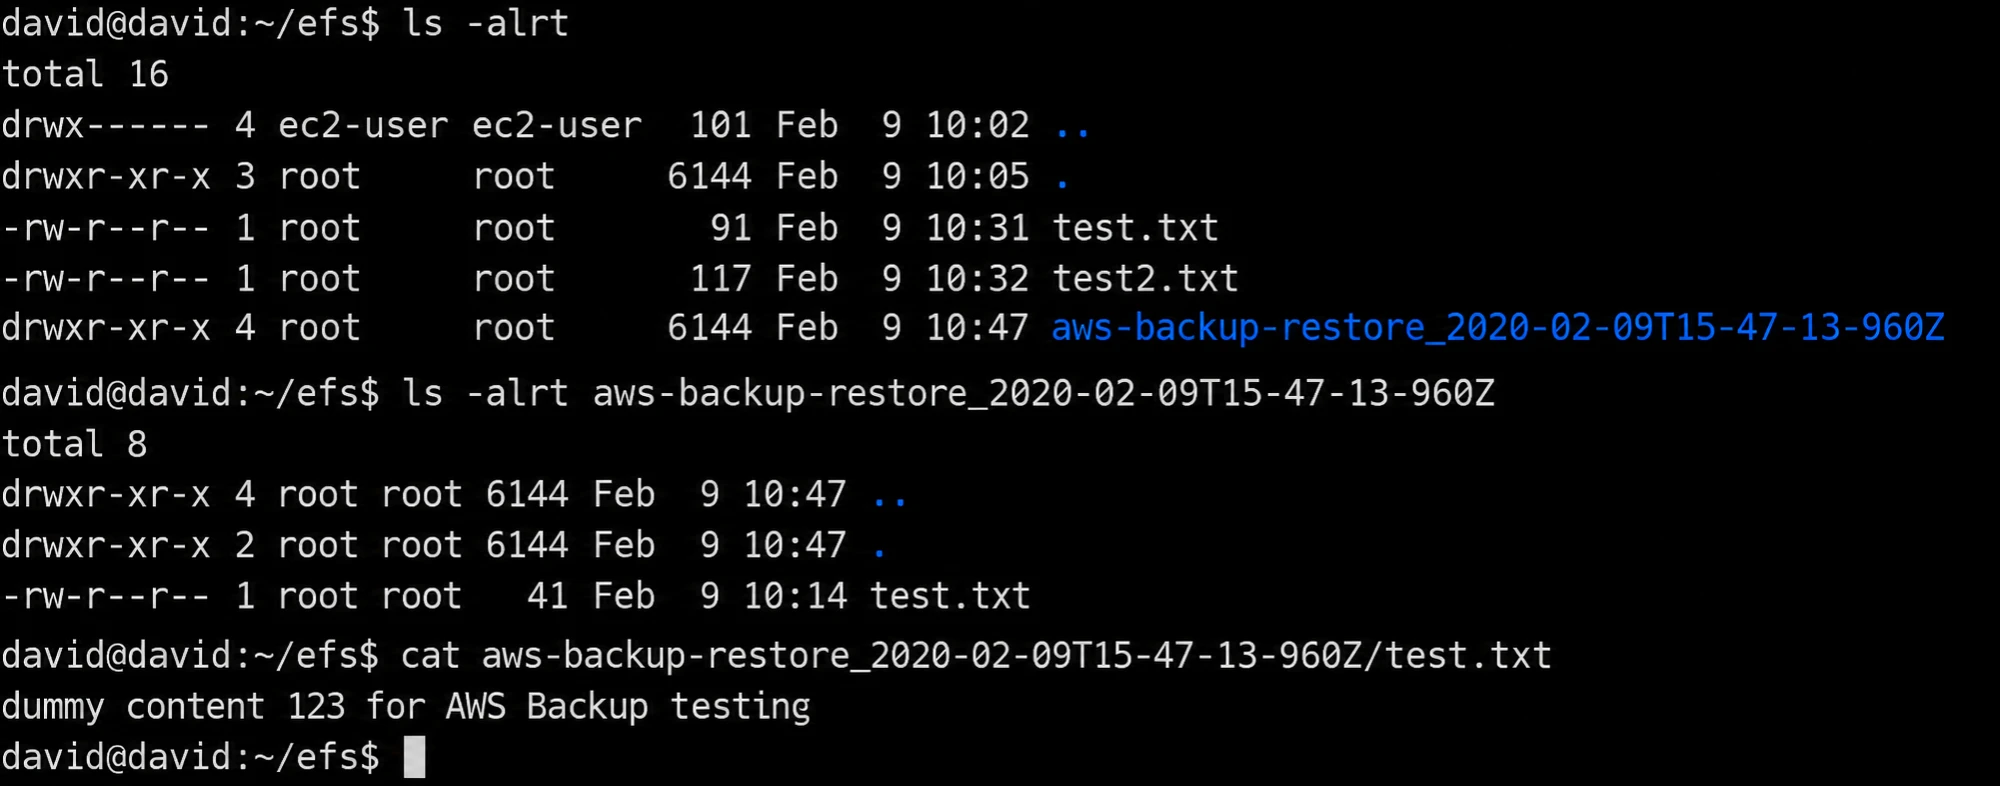
The restored copy contains the original pre-backup text.
The restored copy had only the original line. The live file still had the lines I added later. So the recovery point held the earlier version like it should.
How long restores took
I also tested bigger items. A 1 GB restore finished in about 11 minutes and 39 seconds.
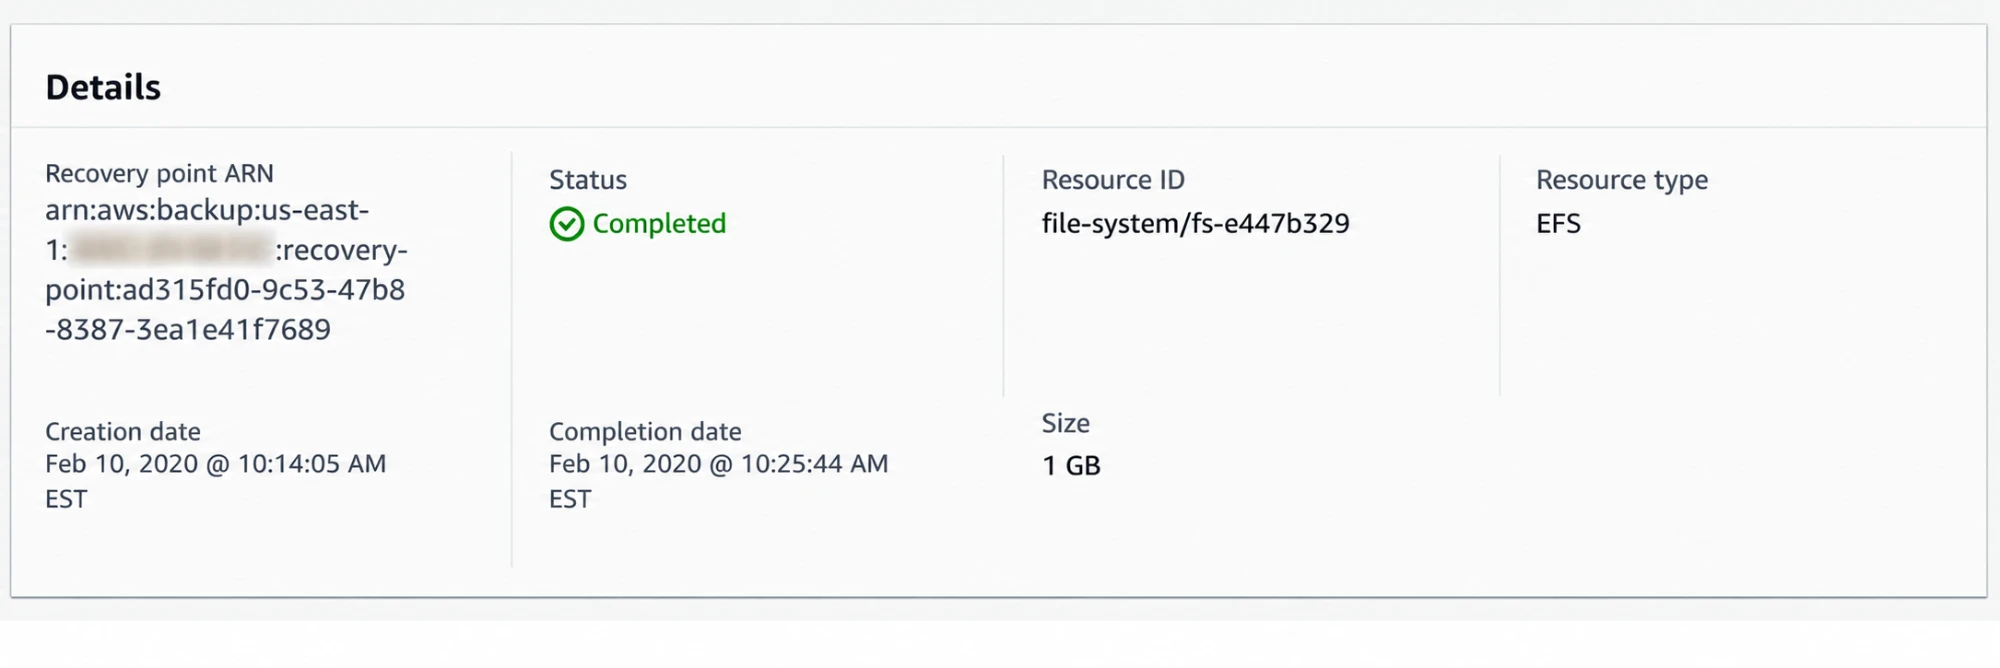
A completed 1 GB item-level restore from my test.
Two 1 GB files together finished in about 11 minutes and 46 seconds.
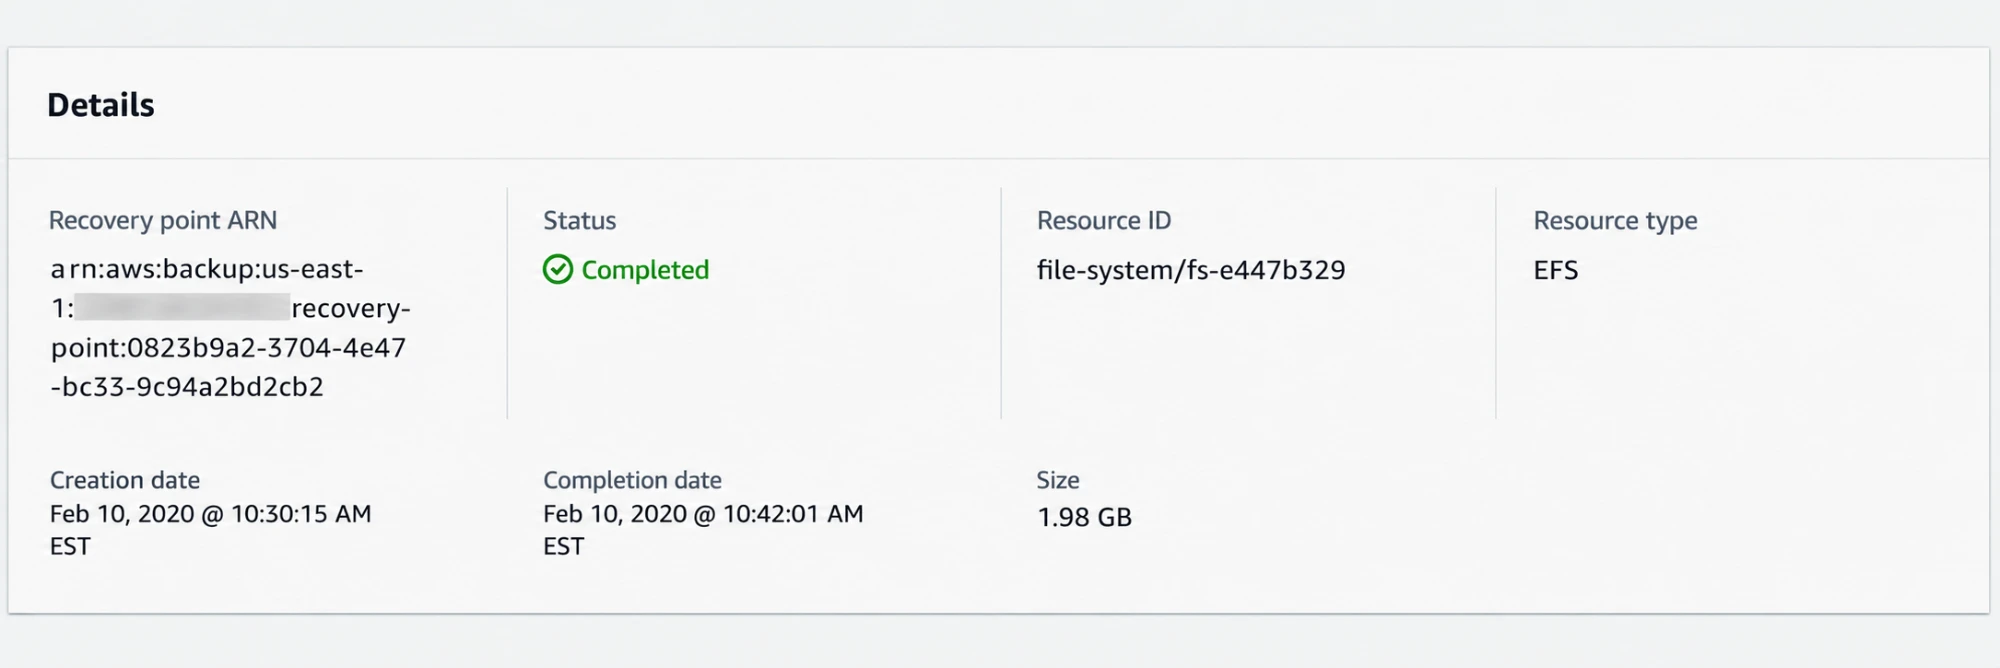
A completed restore containing approximately 2 GB.
Treat these as rough numbers from my test. Real recovery time depends on the service, Region, workload, file count, and the data itself.
Testing a bad path
I also learned why the path matters. A wrong path didn’t fail right away. The restore ran for several minutes and then said the file or directory couldn’t be found.
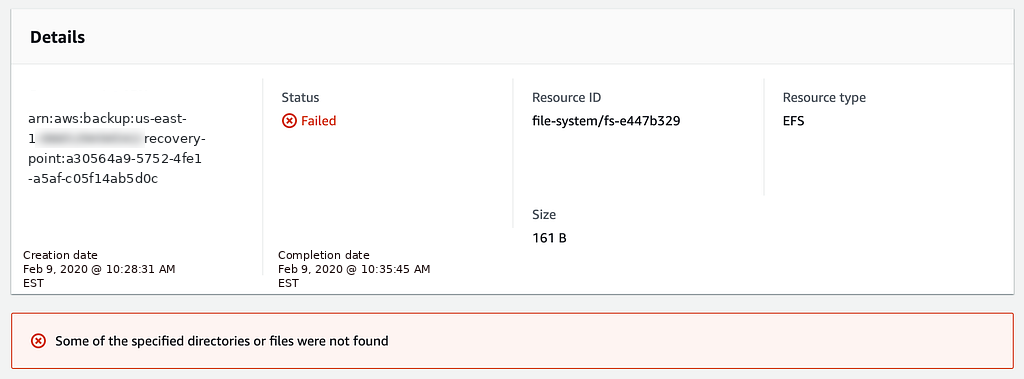
A failed restore caused by an invalid item path.
Before a real recovery, confirm the exact path from the EFS root. Also check current AWS Backup quotas and pricing. Item-level restores can have request limits and charges that have changed since I did this.
What I learned
Here’s the recovery flow I tested:
Create and mount EFS
        |
Create known test files
        |
Create an AWS Backup recovery point
        |
Modify the live data
        |
Restore /test.txt from the recovery point
        |
Verify the recovered copy on EFS
The big result was that AWS Backup brought back one file without rolling back the whole file system. It also left the live file alone and put the recovered copy in its own folder. That made it easy to compare the two and replace the file on my terms.