
I used Terraform and the AWS provider to create an Ubuntu EC2 instance. First I set up authentication. Then I split the project into small Terraform files. I reviewed the plan and created the instance. I ran a second plan to confirm nothing changed. When I was done, I destroyed it.
I built this in 2023. The screenshots and pinned provider version are from then. For a new project, check the current Terraform AWS provider docs and use short-lived AWS credentials where you can.
What I built
My project used four files:
terraform-demo/
├── main.tf
├── outputs.tf
├── providers.tf
└── variables.tf
Terraform used the AWS provider to find a recent Canonical Ubuntu 22.04 AMI. Then it created one EC2 instance. The full lifecycle was:
Authenticate -> Initialize -> Plan -> Apply -> Verify -> Destroy
1. Setting up AWS access
I opened IAM in the AWS console.
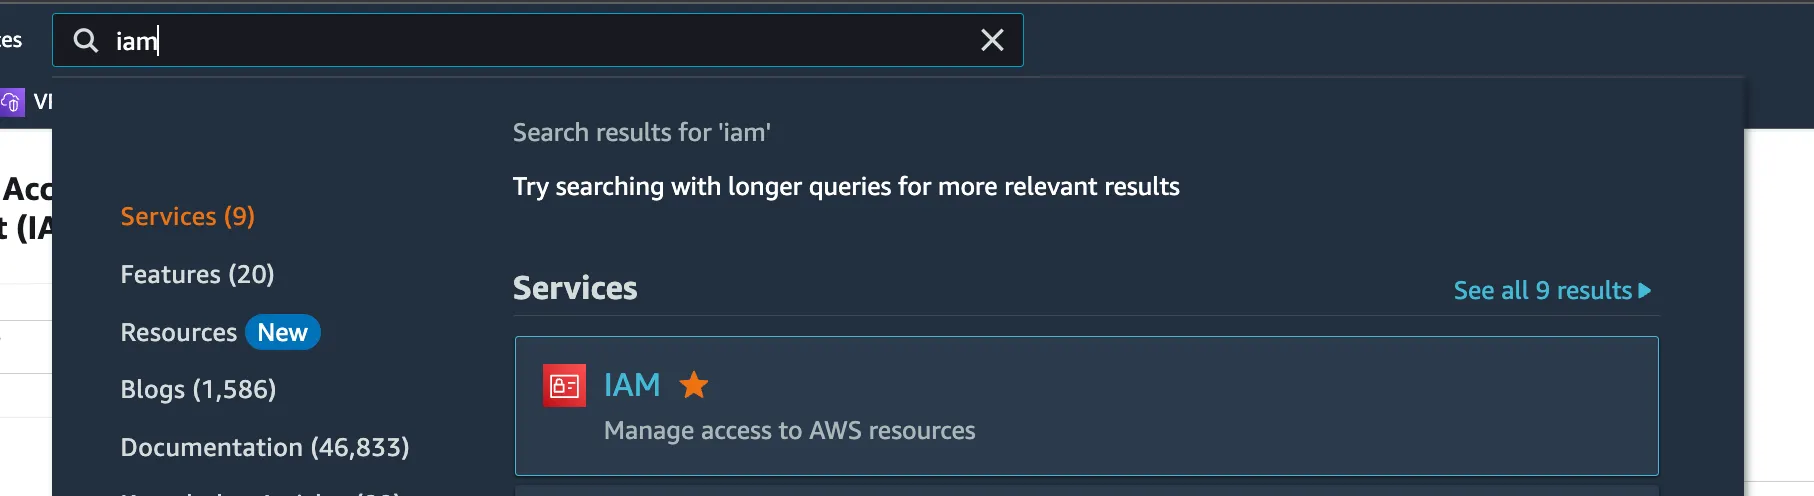
Opening AWS Identity and Access Management.
I created an IAM user named medium-terraform for programmatic access.
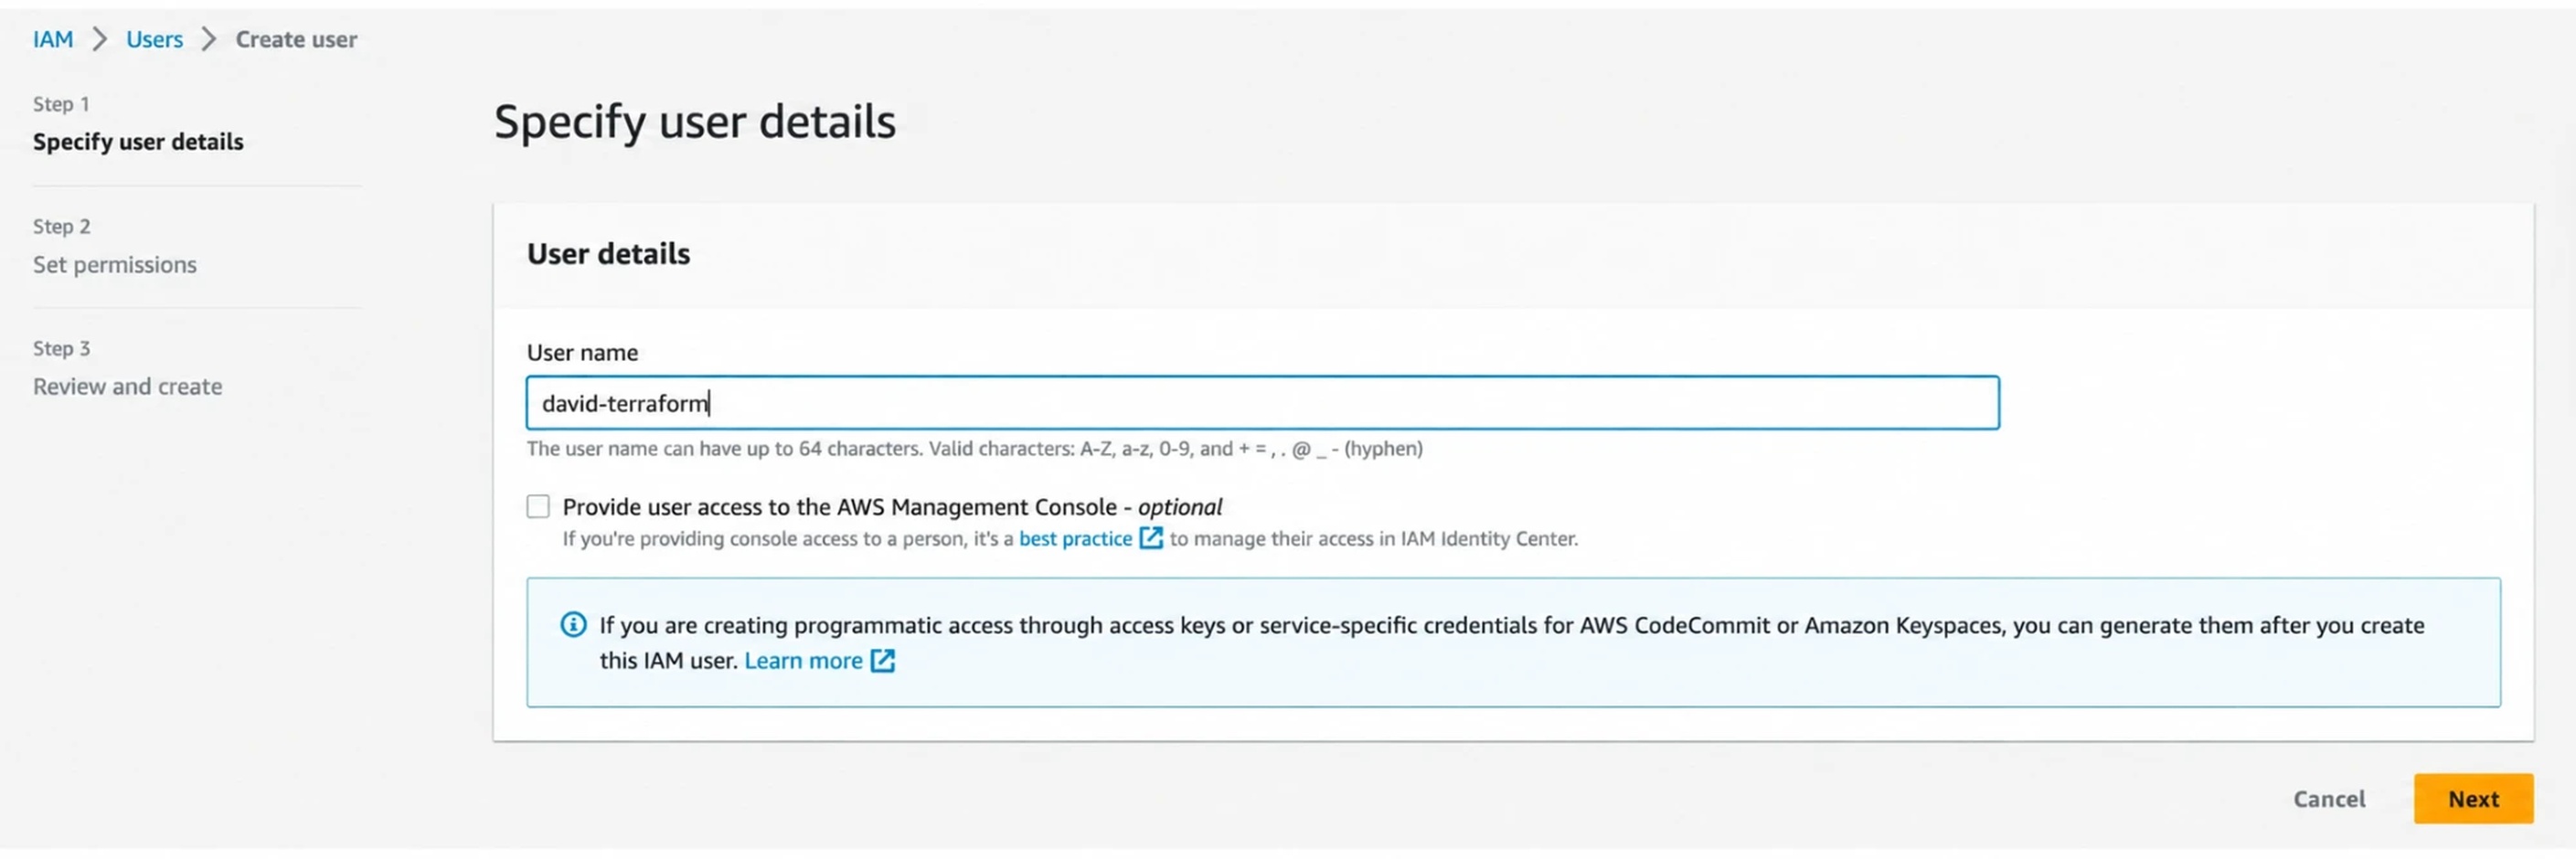
Creating the IAM user for Terraform.
Then I attached the AWS-managed AdministratorAccess policy straight to that user.
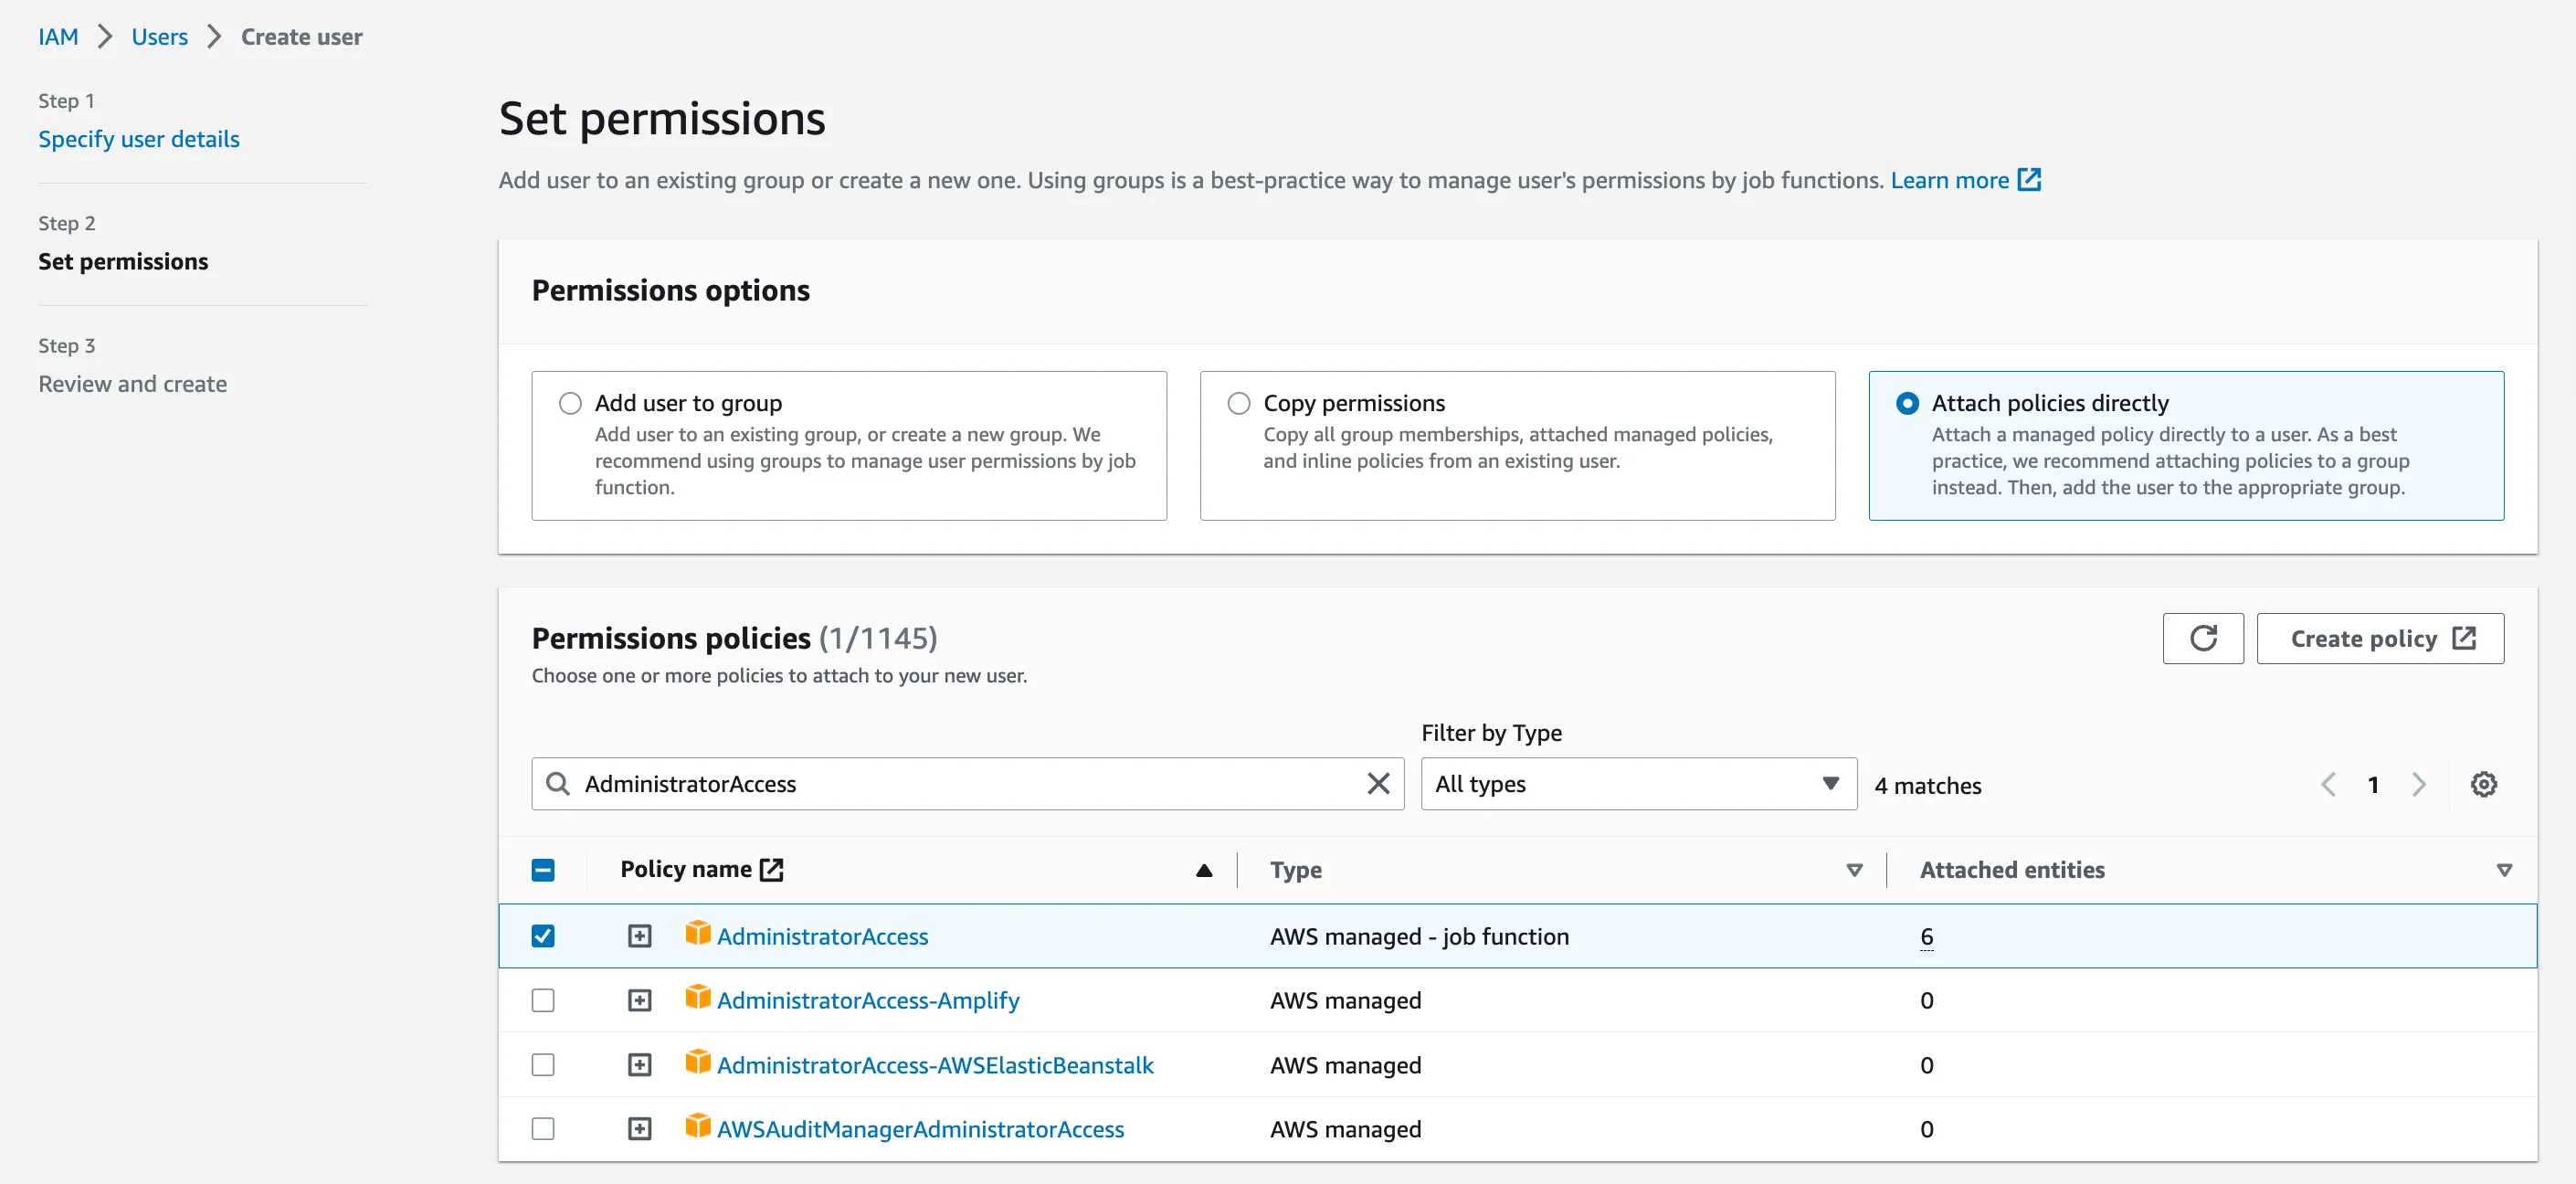
The broad AdministratorAccess assignment on the IAM user.
I only did this because it was an isolated test account. Admin access is way more than one EC2 instance needs. In a real environment I’d use least privilege and short-lived credentials. That means IAM Identity Center, an assumed role, or the runtime’s own identity.
The user’s security credentials page had no access key yet.
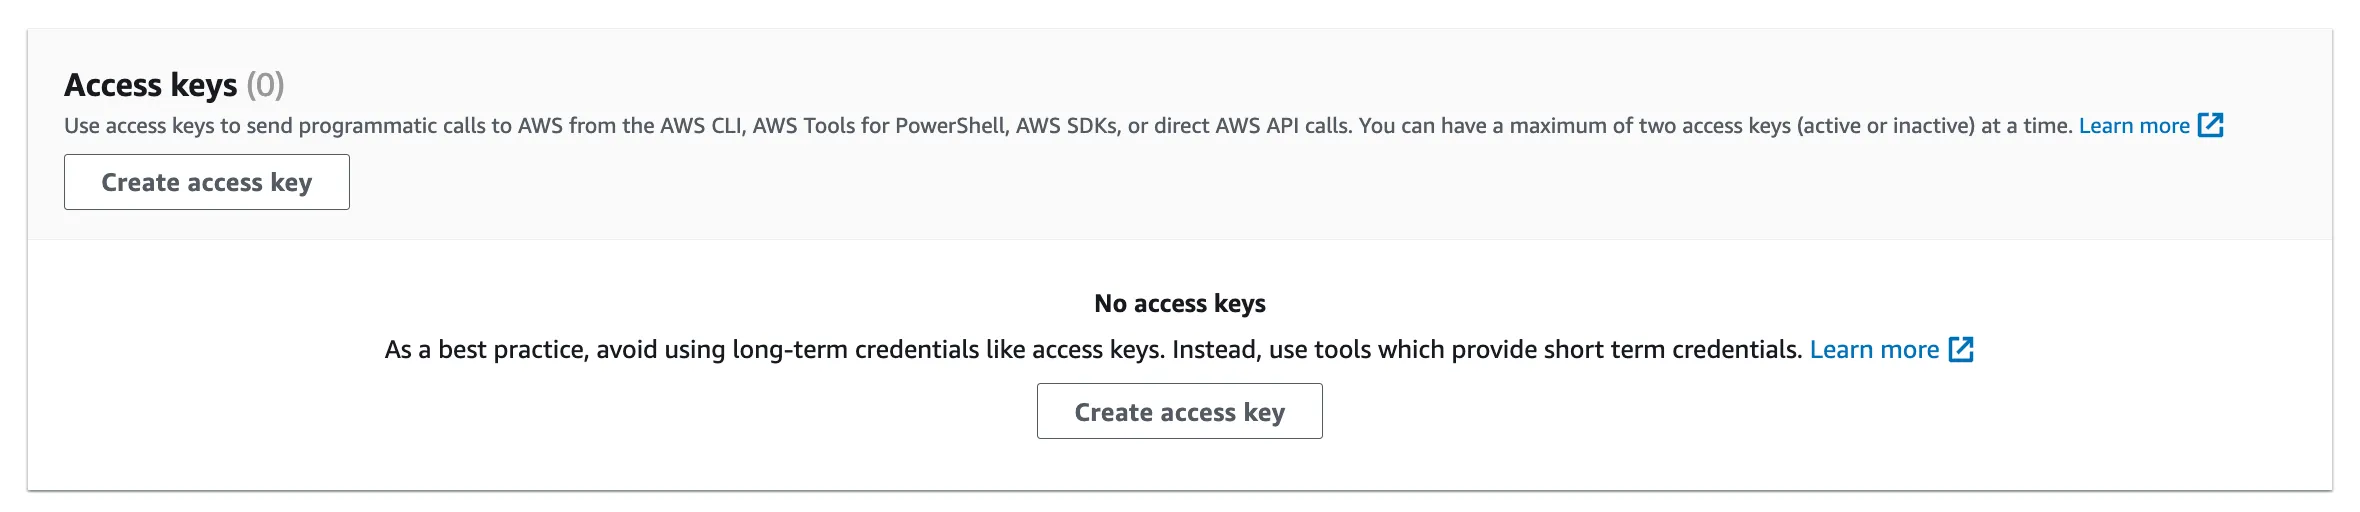
The IAM user’s empty access-key section.
I created a key and picked the command line use case.
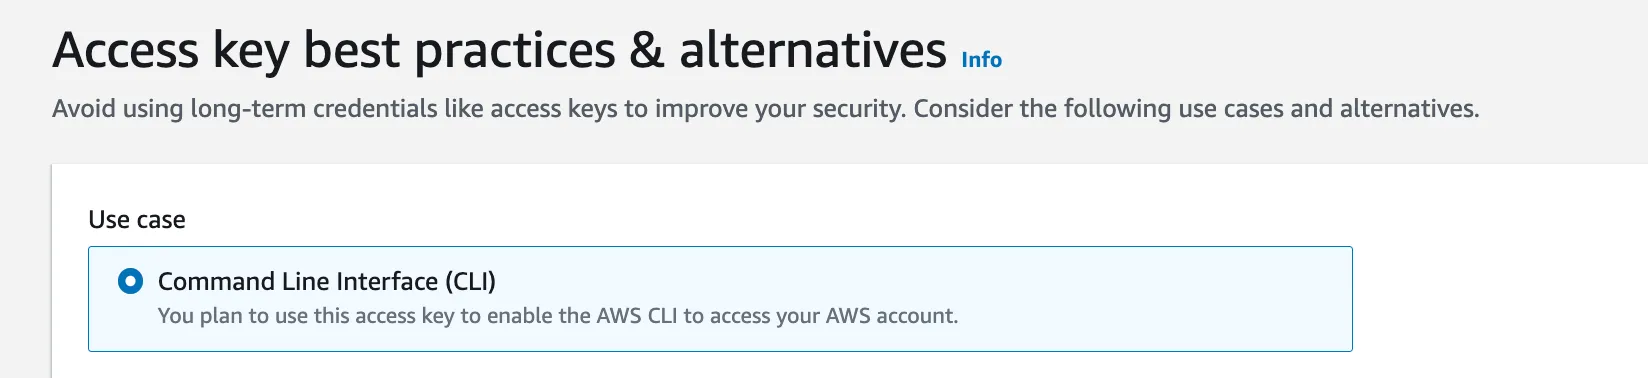
Selecting the CLI access-key use case.
AWS showed the access key ID and secret one time only.
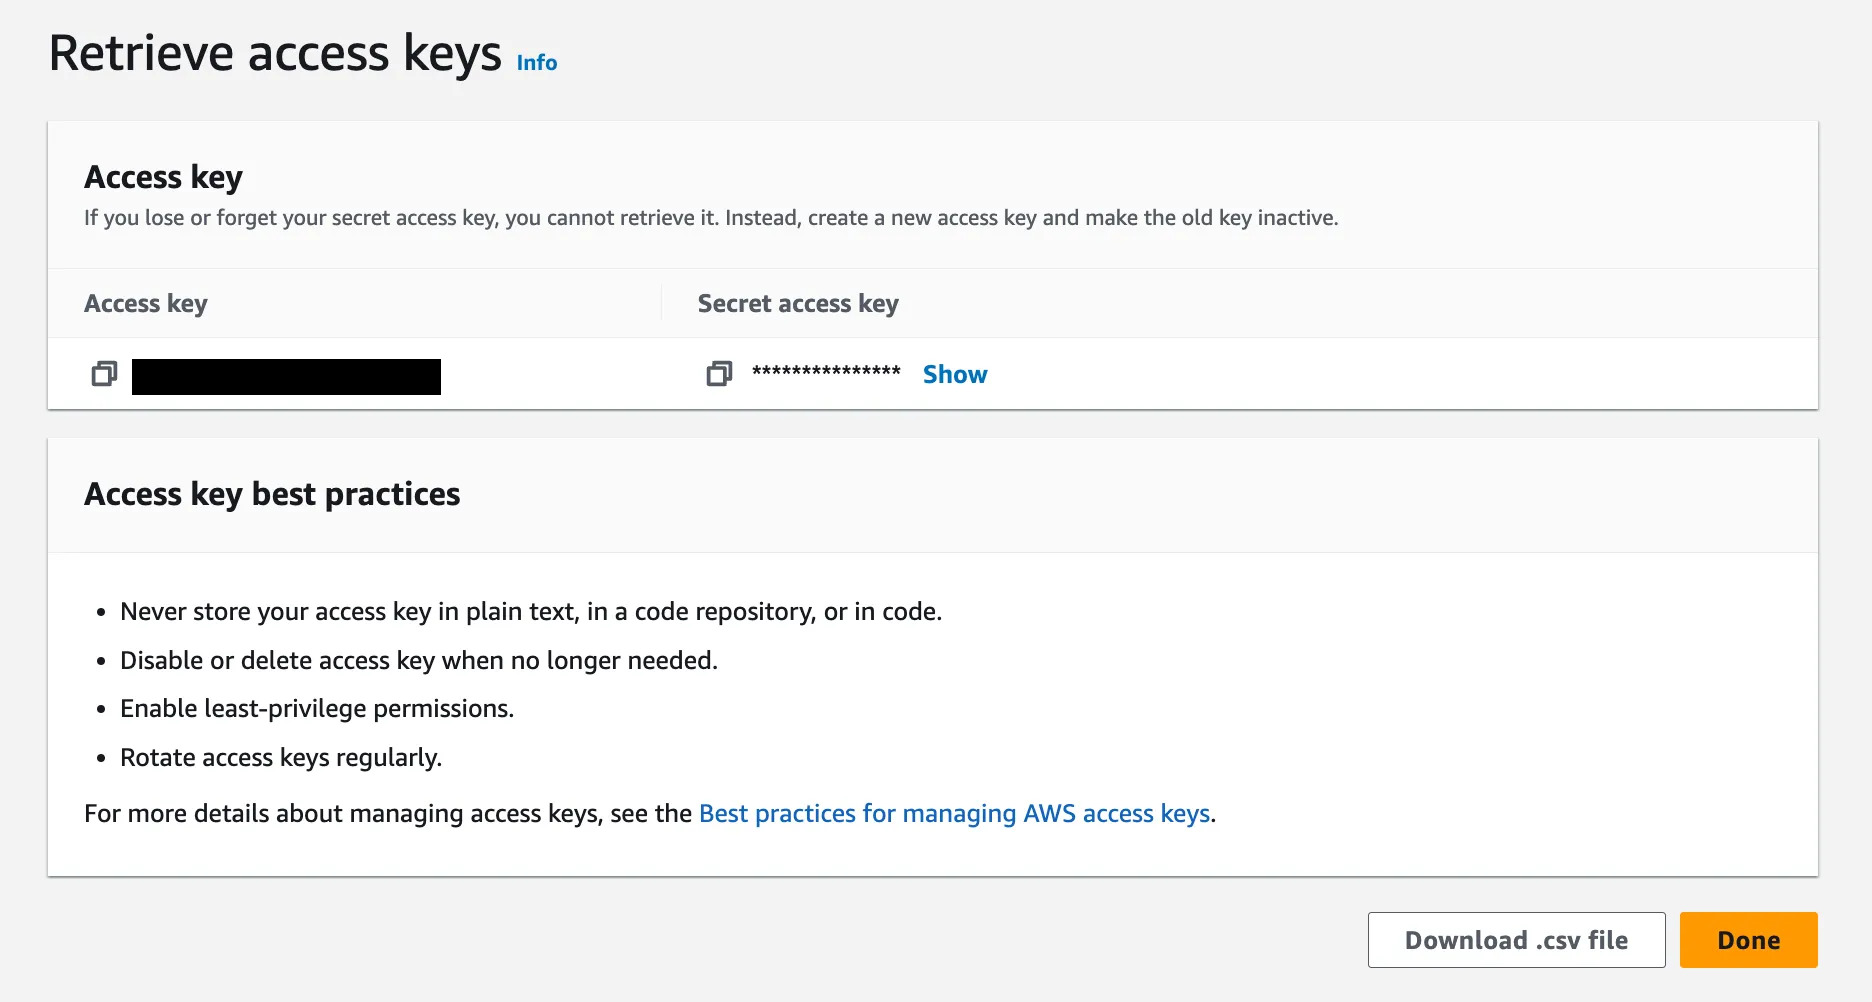
Retrieving the generated credentials securely.
I kept the credentials out of .tf files and out of Git. If a key ever leaks in a screenshot, repo, terminal log, or chat, deactivate it and replace it right away.
2. Setting up an AWS CLI profile
I used a named profile called medium:
aws configure --profile medium
The CLI asks for the access key, secret key, default Region, and output format. I used us-east-1 and json.
Before letting Terraform change anything, I checked which identity was active:
aws sts get-caller-identity --profile medium
It returns the user or role behind the credentials. This quick check stops you from deploying into the wrong account.
3. Creating the Terraform project
I created the project folder and the four files:
mkdir terraform-demo
cd terraform-demo
touch main.tf outputs.tf providers.tf variables.tf
Splitting things up made the provider, resources, variables, and outputs easy to find.
4. Configuring the AWS provider
I started from the provider block in the Terraform Registry.
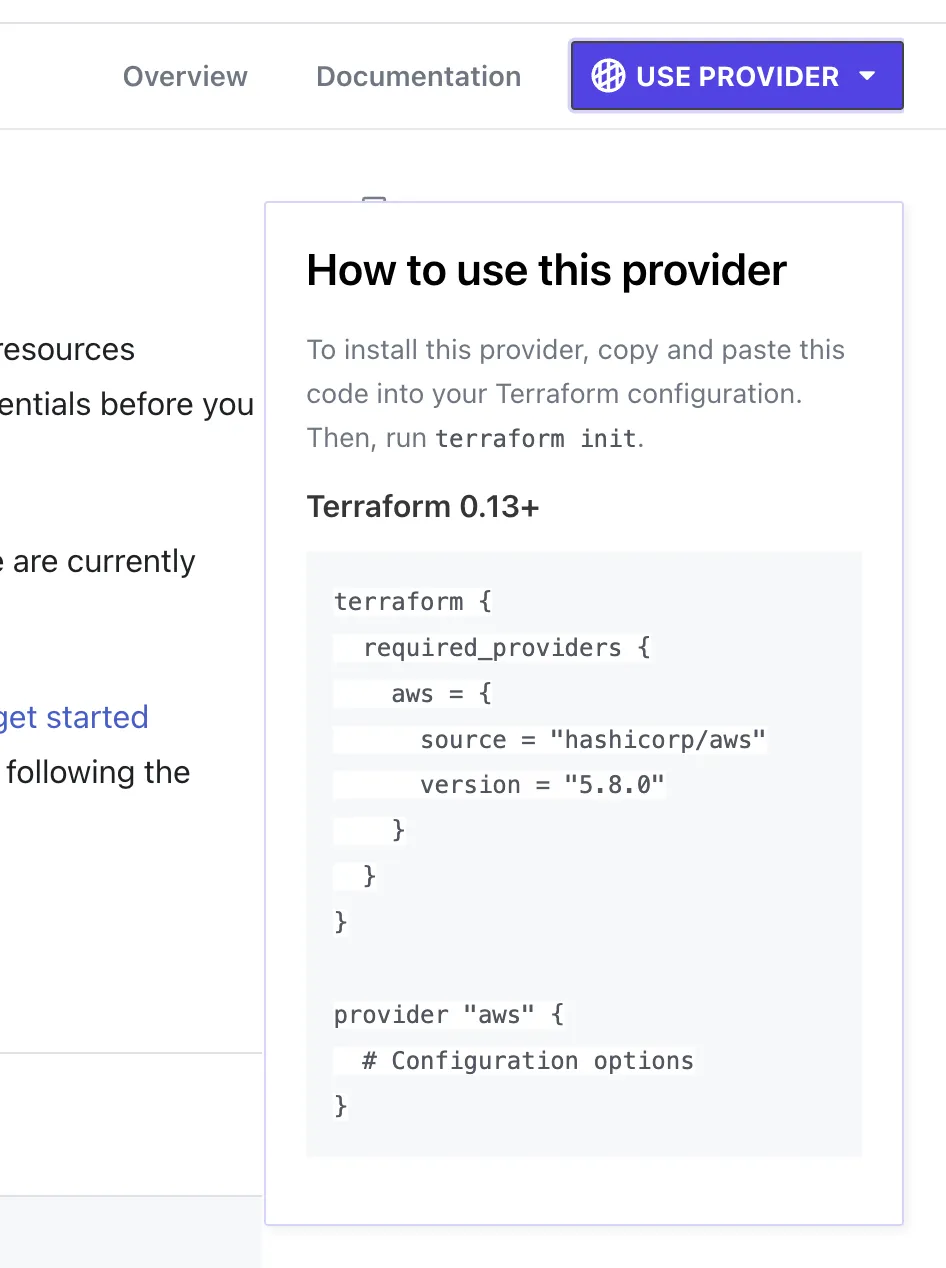
The Terraform Registry instructions for using the AWS provider.
I pinned AWS provider 5.8.0:
terraform {
  required_providers {
    aws = {
      source  = "hashicorp/aws"
      version = "5.8.0"
    }
  }
}

provider "aws" {
  profile = "medium"
  region  = "us-east-1"
}
Pinning keeps the build repeatable. But 5.8.0 is not the current recommended release. For real infrastructure I’d pick and test a supported version constraint. I’d commit .terraform.lock.hcl and upgrade on purpose.
5. Defining the EC2 instance
In main.tf I used an aws_ami data source to find a recent Canonical Ubuntu 22.04 x86-64 image. That way I didn’t have to hard-code a Region-specific AMI ID.
data "aws_ami" "latest_ubuntu" {
  most_recent = true
  owners      = ["099720109477"]

  filter {
    name   = "name"
    values = ["ubuntu/images/hvm-ssd/ubuntu-jammy-22.04-*-server-*"]
  }

  filter {
    name   = "architecture"
    values = ["x86_64"]
  }
}

resource "aws_instance" "ec2" {
  ami           = data.aws_ami.latest_ubuntu.id
  instance_type = var.instance_type

  tags = {
    Name = "${var.instance_name}-ec2-instance"
  }
}
The owner ID limits the search to Canonical’s images. Without it, a similar-looking image from an untrusted publisher could match.
This small resource leans on the default VPC in the Region. For production I’d define everything explicitly. That includes the VPC, subnet, security groups, storage, IAM role, metadata options, encryption, and how admins get access.
6. Adding input variables
In variables.tf I set the name prefix and instance type:
variable "instance_name" {
  description = "Name prefix for the EC2 instance."
  type        = string
  default     = "test"
}

variable "instance_type" {
  description = "EC2 instance type."
  type        = string
  default     = "t2.micro"
}
With these defaults the instance is named test-ec2-instance. Instance type availability and pricing vary by Region and account. Check yours before running it.
7. Defining outputs
In outputs.tf I output the instance ID and public IP:
output "instance_id" {
  description = "ID of the created EC2 instance."
  value       = aws_instance.ec2.id
}

output "public_ip" {
  description = "Public IP assigned to the instance, if one is available."
  value       = aws_instance.ec2.public_ip
}
The public IP can come back empty if the subnet doesn’t assign public addresses.
8. Format, init, and validate
Before planning I formatted and validated the config:
terraform fmt
terraform init
terraform validate
terraform init downloaded the provider and created the lock file. terraform validate checked the config before anything touched AWS.
9. Reviewing the plan
I saved a plan and reviewed it:
terraform plan -out=tfplan
On a fresh workspace, this was the line that mattered:
Plan: 1 to add, 0 to change, 0 to destroy.
The plan also showed the AMI the data source picked. The instance ID and public IP were marked as known only after apply. I read it carefully. This is the last check before real infrastructure gets created.
10. Applying it
I applied the saved plan:
terraform apply tfplan
Terraform created the instance and printed the outputs. Then I checked it in the EC2 console.

The running EC2 instance created by Terraform.
The ID and IP in the screenshot are from my run. Yours will be different.
11. Checking that a rerun changes nothing
Without touching the config, I ran another plan:
terraform plan
Terraform refreshed its view of AWS and found nothing to change. That’s the point. Applying the same config again should never create a second instance.
No changes. Your infrastructure matches the configuration.
12. Tearing it down
When I finished, I previewed the destroy and ran it:
terraform plan -destroy
terraform destroy
The plan showed:
Plan: 0 to add, 0 to change, 1 to destroy.
terraform destroy only removes what’s in this Terraform state. It didn’t touch the IAM user or access key I made by hand. I deleted those separately afterward.
I didn’t delete the state files before cleanup. Terraform needs state to know which real resources it owns.
What I learned
This covered the core Terraform lifecycle on AWS:
Configuration files
        |
terraform init
        |
terraform plan
        |
terraform apply
        |
AWS resource + Terraform state
        |
terraform destroy
A few habits stuck with me. Check the AWS identity before deploying. Read the plan before applying. Keep credentials out of source control. Treat the state file as sensitive. Even a one-instance project benefits from all of that.